Some deliveries may take a little longer than usual due to regional shipping conditions.

DOWNLOAD THE APP


Customer Services
Copyright © 2025 Desertcart Holdings Limited
DOWNLOAD THE APP


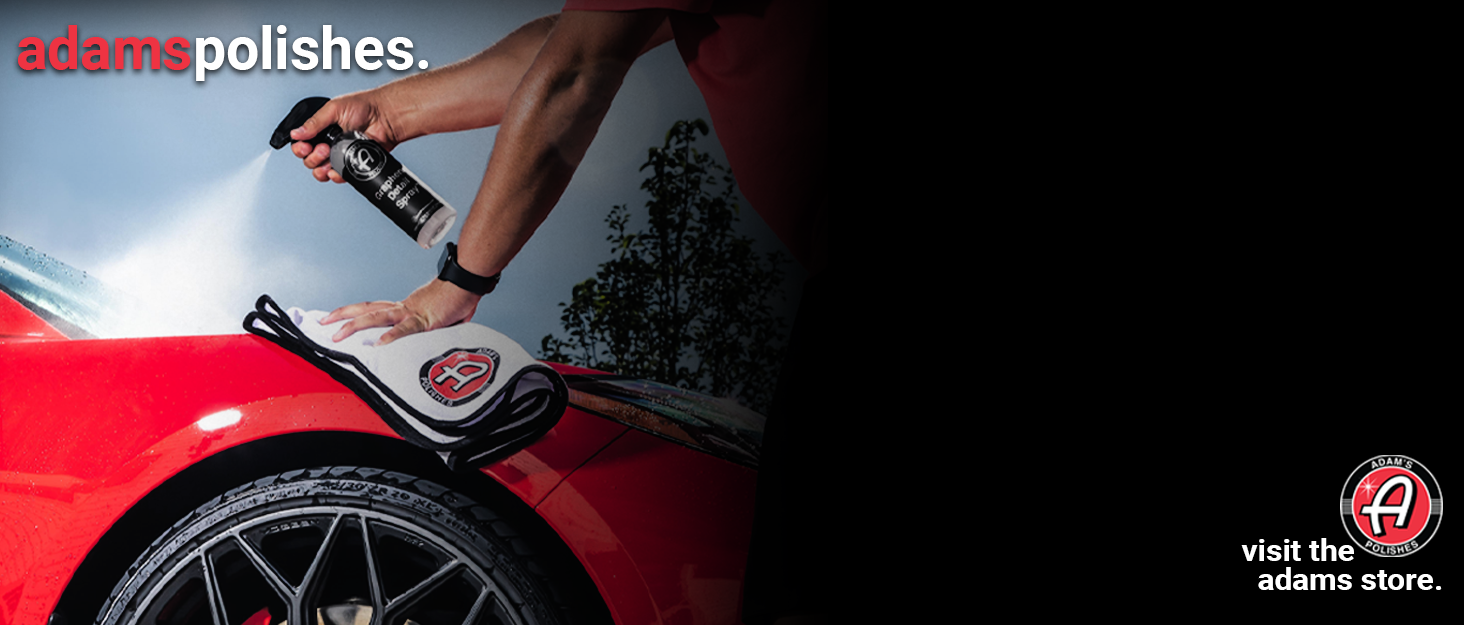
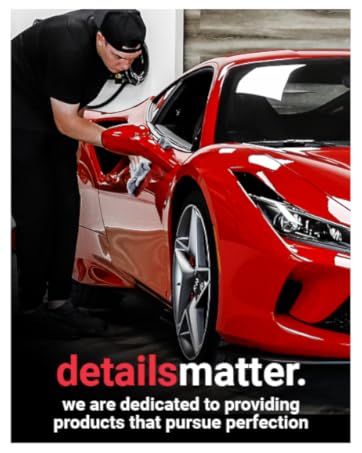
✨ Elevate your ride’s shine & defense — because your car deserves the future of protection! 🚗
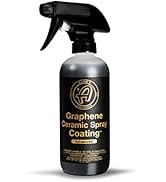
Adam's Advanced Graphene Ceramic Coating Standard Kit offers a cutting-edge 10H hardness nano-ceramic formula infused with patented UV tracing technology for precise application. Designed to provide over 9 years of durable protection, it delivers extreme hydrophobicity, superior scratch resistance, and an ultra-gloss finish that enhances color depth. Safe for multiple surfaces including paint, glass, and vinyl, this DIY-friendly kit transforms your vehicle with professional-grade results and long-lasting defense against weather, chemicals, and UV rays.


| ASIN | B099SFV2MB |
| Best Sellers Rank | #1,206 in Automotive ( See Top 100 in Automotive ) #7 in Polishing & Waxing Kits |
| Brand | Adam's Polishes |
| Date First Available | July 15, 2021 |
| Grit Material | Ceramic |
| Grit Number | 180 |
| Grit Type | Fine |
| Item Weight | 4.2 ounces |
| Manufacturer | Adam's Polishes |
| Material | Ceramic, Resin |
| Package Dimensions | 8.82 x 8.62 x 4.29 inches |
| Set Name | Standard Kit |
| UPC | 810004215702 |
A**W
First time doing ceramic, excellent results
I was always scared to try ceramic because of how difficult it can be to mess up. I gotta say this was not difficult. Labor intensive? Very. Difficult? No. This is a solid weekend project. My flow was wash>iron removal>synthetic clay>polish>strip wash>surface prep>ceramic. I had already done a two stage correction when I got it, but since then I've only used waxes and sealants. The polishing brought it back and got out all the new swirls. As far as the graphene, I watched the Adam's livestream of how to use their advanced graphene and it taught me a lot. I applied it, waited for the rainbow to dissipate, and waited for it to sweat. Then I used the suede towel, which felt grabby on the surface as they described in the video to level it out. Then I used the white towel to buff it off. The coating itself only took about 3 hours to do the painted surfaces. I applied in a crosshatch pattern in smaller sections along the body lines to ensure it wasn't sitting for too short or too long, because my environment was uncomfortably hot and humid which decreased the cure time. The UV part was pretty useless on my car. Maybe more helpful on a lighter shade. Ignoring the prep, I give the actual application of the product a 7/10 on the easiness scale. It really wasn't hard. It definitely gives the car a very high gloss. It is incredibly shiny. It's not deep like a carnauba wax though. If you're willing to give up the better part of a weekend, you can have a coating that will last years and save thousands DIYing it. It should be noted that per their videos, you can use this stuff on many things. Any exterior surface of the car, glass cook tops, shower doors... You name it. I used exactly one bottle on an Audi Q7 and S5, covering both exteriors completely minus the wheels. Keep in mind that the applicators and towels are one time use. They'll get crusty when the ceramic dries. So if you wanna do multiple coats or different things on different days, have some extra applicators and towels ready. Also, once you open the bottle it will start curing, so close it in between panels and use it promptly. Update: Washed it for the first time and the hydrophobicity is amazing. I completely dried the car towel free with only a small battery powered blower, the kind you would use to blow sawdust off a workbench or something. If I had a real leaf blower I could probably dry this thing in less than a minute. 3 month update: Hydrophobicity is minimally degraded. I'll use a synthetic clay mitt to bring it back. Car still easily dries with a blower. Also want to add you may find some information on the internet saying you don't need to level the coating on plastic, like the gray stuff on bumpers. You absolutely must level and remove the coating just like on paint or glass or you will get white streaks that are essentially impossible to remove. I used it on the plastic rockers on the S5 and the entire grille of the Q7, which has a ton of gray plastic. I thoroughly cleaned and surface prepped, and then applied the ceramic in the same manner as the rest of the car, although deciding when to level and remove it is a guessing game because it won't rainbow or sweat. It deepened the color and restored it to how it looked new. No more chalky, oxidized plastic trim! One year update: This stuff is still going strong. Water beading is still outstanding, I can still dry the car completely with a leaf blower, and the shine is immaculate. I have not touched up the coating at all except for a handful of applications of Adam's graphene detail spray. I never used a clay mitt on it as I said I would, and apparently that's not good for the coating anyway so I'm glad I didn't. Thoroughly impressed with how it has held up after a year. I would not hesitate to use this again, but apparently I don't need to. I went ahead and finally did my brake calipers and wheels, and wow. The brake dust just rinses right off. It's amazing. I really don't even need to touch them.
D**.
A great DIY Graphene Ceramic coating - if you're willing to put in the work
I just bought a new car and unfortunately, it's Black. I always said I'd never buy a black or white car, but two out of the last three cars I've puchased have been white and black - mainly because I love a deal more than I dislike white or black. Since I have a black car, I figured why not make it shine? I did some research on ceramic coatings and chose the Adam's Advanced Graphene Ceramic Coating kit, mainly because many reviews mentioned that, for a DIY kit, the product is quite forgiving compared to other ceramic coatings. I'd like to tell you that the application is easy - and I guess if you are talking about applying the ceramic coating itself, it's not that bad. If you want to do the whole project right, it's not easy. I spent a total of 16 hours with probably a total of 1 hour of break between two days putting this on a two-week-old car. My process was: Day 1 (About 6 hours): Hand wash Dry Iron Remover Rinse Dry Clay Mitt / Bar Day 2 (About 10 hours total) Rinse the clay bar lubricant off of car Dry Water spot removal (1:1 vinegar / water spray) Dry Spot polish a couple of spots with minor scratches Surface prep those spots again Apply the Graphene Ceramic coating to all exterior surfaces - painted metal, bumper covers, grille, mirrors, all exterior glass including windshield, door glass, and "Skylounge" (Panoramic Roof). I chose not to do a full paint correction, as the car's paint was in decent-enough shape for me, and with my DIY/Inexperience on operating a polisher on a brand new finish - the risk outweighed the reward here. I did spot polish by hand a few spots that had minor scratches in the clear coat with some polish I had laying around and those spots came out perfect. Applying the coating itself is easy - put a few drops / small line on the applicator pad and rub in a "crosshatch" pattern - that is, cover the area you are working side to side, then again in the perpendicular direction. You wait for the area you just applied to "flash" - that is, the coating will turn a rainbow color and then you can see it start to dissipate. That's when you "level" (wipe) it with the included Microsuede towel. It said to wipe lightly, but I used what I would say is medium pressure, and I had excellent results. After each section was done, I went over it with the included plush towels and it took off all of the remaining solvent, leaving a surface that is smooth as glass. Depending on time and temperature, it only takes a couple of minutes - maybe 5 minutes to complete each section you work on, starting from applying the ceramic to finishing with the plush towel. The big things you have to watch out for with ceramic coatings is high spots. I looked and looked, and I had one or two on the whole application, which I attribute to using medium pressure on the leveling phase and taking my time - this isn't a process you want to rush. If you do find a high spot - which looks like dried product on the surface of your paint - just apply a bit more ceramic coating to the applicator and go over it - the solvent in the ceramic coating will basically "rehydrate" the high spot and you can wipe it off like the first application. It is difficult to see the rainbowing on my Black Sapphire paint. I had to really watch for it, and even with LED lights in the garage and using a supplemental LED worklight, it was very hard to see the rainbowing. I timed what it took in sections I could see easily and used that as a guide for when to start leveling other sections I could not see. The included UV flashlight was a neat idea, but effectively useless on my black car - it just lit up everything purple. I mean, if the coating is fresh - like not even rainbowed yet, you can kind of see it highlight with the UV light - but I really didn't find it provided any benefit. The other thing that you have to know - WASH ALL TOWELS before using - including those included with this kit, and any towels you have - especially new towels. Use Woolite, or do what I did, and I used whatever my wife washes her bras with - it's for ultra-delicates. They will leave lint all over your finish, which is annoying. Even after washing, the super plush towels would lint, but it would wipe away pretty easily. You have to keep the car dry for 24 hours, but I'm going on vacation so it's going to cure in the garage for 6 days. We'll see how it looks when I get back, but all signs point to it looking amazing. I was amazed at how little product I used to cover a BMW i5. The included bottle was 30ml, and I bet if I used 7ML that would be a liberal estimate. My buddy who really nerds out about this stuff says that once it's open, it will likely start crystallizing in the bottle - so I guess it's time to start marathon coating things (bikes, lawnmowers, my wife's car, etc.) Overall, this is a great DIY kit - **IF** you take the time to prep your surface properly. Next time I'd pass on the UV Flashlight kit, as I didn't find it very valuable. (The picture of the bottle of product shows you how much I used for the full car - and the spot on the last photo is from my hand, not a high spot from application)
B**.
You should buy this today if you have a newer car or an older car with good paint!
This is a awesome way to protect your paint for 4-8 years! It has many advantages over regular wax! 1) Protects your paint from fall out, morning dew, bird poop, road grime, salted streets, etc. (It puts a hard ceramic coating over your paint.) 2) Has UV protection which will help your paint fade slower and keep your clear coat lasting far longer. 3) Makes washing your car much easier as the coating is smooth so it is harder for anything to stick to it. 4) When it rains your car will look cleaner, not dirtier like usual. The rain will actually be enough to loosen and wash off the dirt, dust, fallout, etc from your paint as you drive in the rain. Do yourself a favor and buy the kit as it has everything you need to do a ceramic kit right. (VS buying the ceramic coating and using microfiber towels or sponges.) Kit comes with - 1) Their longest lasting ceramic coating. 2) Two applicators. (Buy two more as if you drop one or it starts to dry out you should toss it.) 3) Pre-prep cleaner to remove any oil, wax, or other grime that might keep the coating from sticking to the paint. 4) A UV light so you can see your coverage. You can see where you missed, where you are perhaps too thick, and where you are perhaps too thin. However it really only works in a garage or other dark space. (Black lights as you know do tend to work in bright areas.) 5) Spreading/leveling towels. This will help with high spots and evening out the fluid where needed. 6) Some really nice fluffy microfiber towels to do a final wipe and level of the ceramic coating. Be sure to watch Adams and other youtube tutorials so you do a great job the first time.
P**H
S**M
Absolutely amazing product, Works like magic on my car Bit difficult as I am first time user as well as applying it on a white car, wish prep spray should have bit bigger size. Application glass was so much easier
S**M
gets the job done
も**ん
注文をしたところ偽物らしきものが届きました。 購入者の方は以下の点に注意してください。 ①本来であれば真っ黒な液体なのですが、2週間ほど置いておいたら画像のように透明な液体と染料の部分に分離してしましまいました。※正規品は1月以上置いても分離しません。 ②商品に添付してあるシールが正規品と違いました。正規品はステッカーの角が丸くなっていますが、届いたモノは丸くなっていませんでした。 ③バーコードのナンバーが違いました。このコードはAdvancedになる前の別の製品コードになります。
R**I
Only complaint would be the price otherwise works great
Trustpilot
3 weeks ago
1 month ago