
DOWNLOAD THE APP


Customer Services
Copyright © 2025 Desertcart Holdings Limited
DOWNLOAD THE APP
🚀 Upgrade your storage game—fast, cool, and hassle-free!
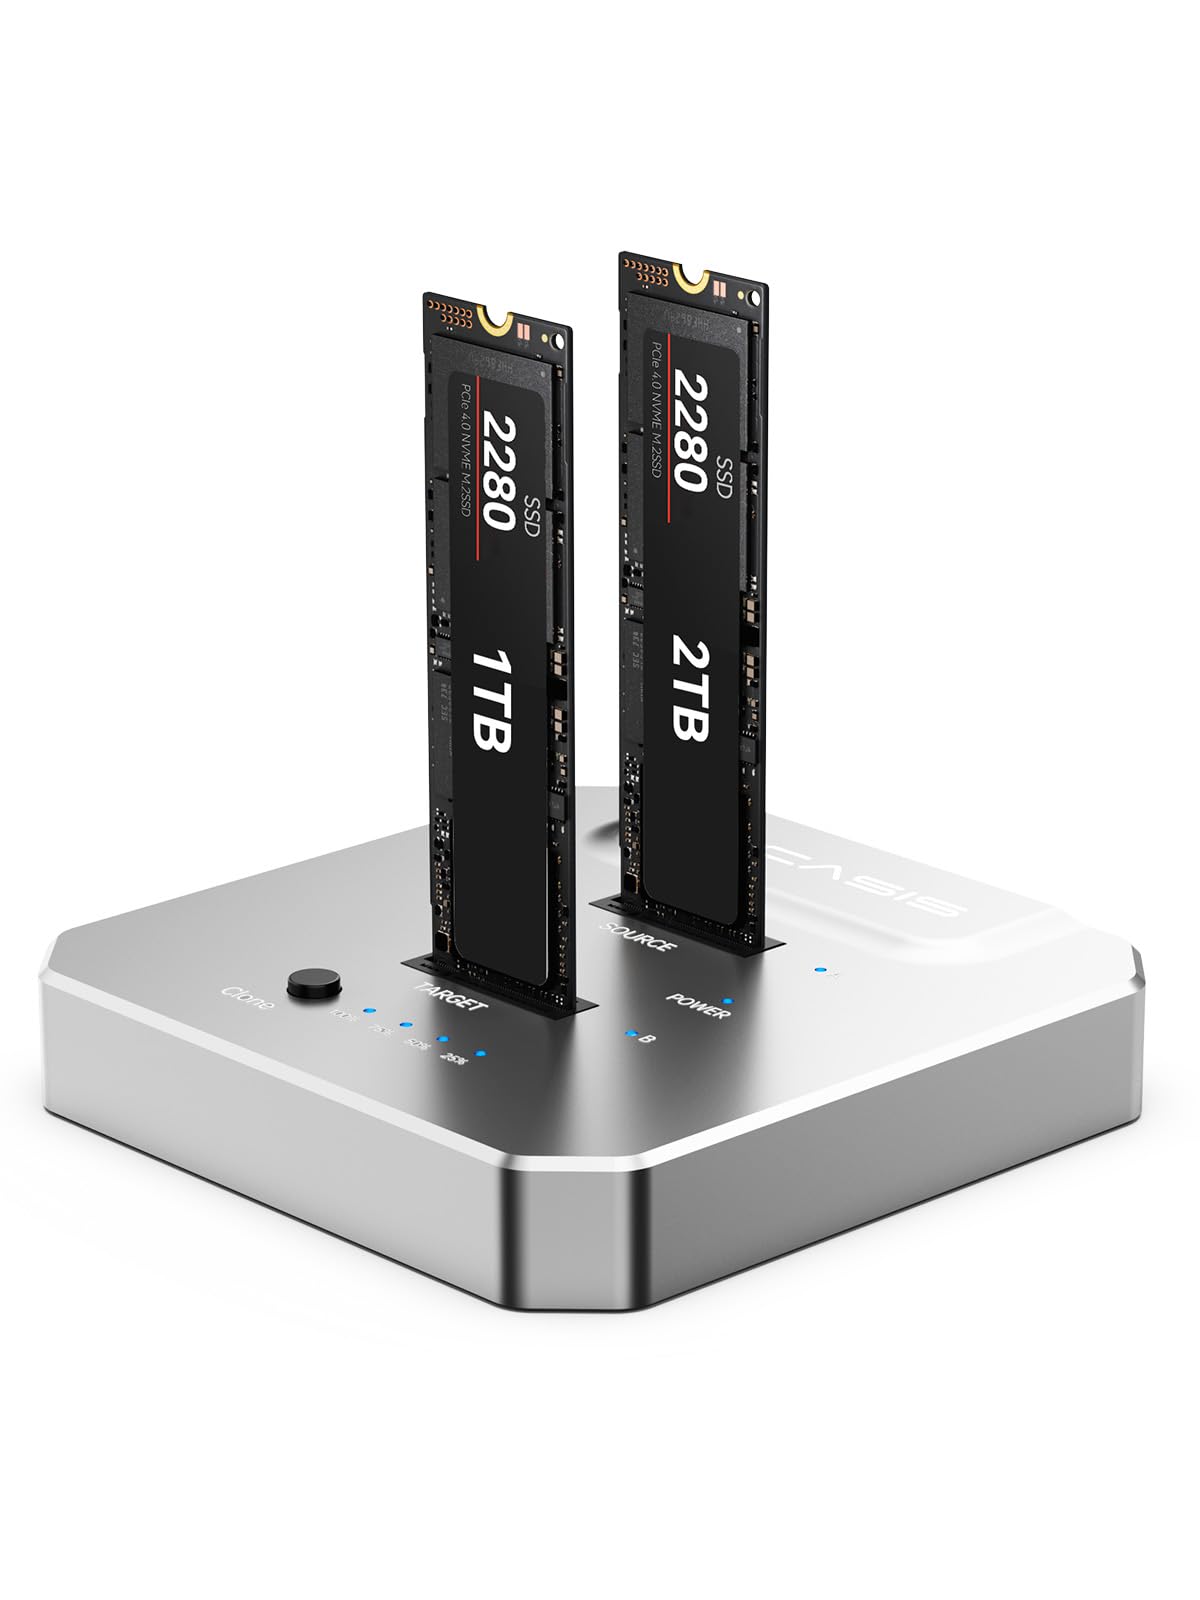
The ACASIS NVMe M.2 Duplicator is a dual-bay offline cloner and docking station designed for M.2 NVMe SSDs up to 8TB. It delivers ultra-fast 10Gbps data transfer speeds, enabling a 256GB clone in about 4 minutes without needing a computer or software. Crafted with an aluminum alloy enclosure for optimal heat dissipation and featuring a tool-free design, it offers a professional, efficient solution for seamless SSD upgrades and backups.


| ASIN | B085T9MR9V |
| Best Sellers Rank | #215 in Enclosures |
| Brand | FREEGENE |
| Built-In Media | Blu-ray, DVD |
| Compatible Devices | Laptop |
| Customer Reviews | 4.1 out of 5 stars 528 Reviews |
| Data Transfer Rate | 10 Megabytes Per Second |
| Enclosure Material | Aluminum |
| Hardware Interface | USB Type C |
| Hardware Platform | PC |
| Item Dimensions L x W x H | 3.31"L x 1.93"W x 0.63"H |
| Item Weight | 56 Grams |
| Manufacturer | FREEGENE |
| Material | Aluminum |
| Memory Storage Capacity | 8 TB |
| Product Dimensions | 3.31"L x 1.93"W x 0.63"H |
| Supported Devices Quantity | 2 |
| UPC | 705338038953 705338039110 |
| Warranty Description | 1 year manufacturer |
C**T
Works as it should. Very pleased!!!
Works perfectly, but the drives get super hot!!! It's best to unplug the unit as soon as the cloning is finished and let the drives cool before removing them from the unit. Other than that I am very pleased with the unit. Also, it will not clone a larger SSD to a smaller SSD, It only clones a smaller SSD to a Larger SSD
W**M
Glad that I purchased this. Works as advertised.
Yes, the status lights are difficult to see in normal lighting because they are so tiny. But this is not a significant problem; it is just something for the manufacturer to improve on the next design. I used this to upgrade an Asus VivoBook S15 (Intel Core i5) by copying the factory SSD to a Crucial P3 Plus 4TB PCIe Gen4, purchased on Amazon, and it booted just fine. (I have 2 of the Crucial SSD sticks so I did this test twice.) The copy completed within five minutes and I did not notice any significant heat during the copy. The same test did not work when I tried to upgrade my older Asus VivoBook 15 using the same Crucial SSD sticks. The copy succeeded fine but, when either of the sticks were installed, Windows 10 would not boot. The factory SSD from the older Asus has two notches rather than one, so the problem might be that the particular SSD that I purchased is incorrect for that laptop.
L**D
Kind of amazed how well it works.
These types of devices almost always disappoint. They rarely work well. This one does its task. It clones a 512GB NVME in about 5 minutes. This is great for doing system testing and software installation test cycles, where you can't use a virtual machine. I have done over 10 clones without a single failure or error. It DOES get hot, but it is all aluminum and doesn't seem to be bothered. The LED lights give adequate status info for the purpose. You do need to use its included power adapter to do a clone; the thunderbolt connector didn't have enough power and it simply refused to initialize.
D**L
It does NOT support M+B Key ssds, as it supposedly advertises.
What is the point of advertising your product to support something when it actually can't? I got this cloner to make a copy of my M+B Key SSD to my M Key SSD. The device can read my M Key SSD fine, but the M+B Key SSD is unrecognized. And I can verify that it works: it literally was previously on my computer and isn't even a year old. This was a waste of time and money. I recommend this listing get taken down for false advertisement.
B**F
Worked but finicky and dangerously hot (143+F) for no good reason. But I'll keep it....
It worked after the 4th try. I tried offline cloning exactly per instructions to no avail several times. The likely trick is to initialize or format your brand new m.2 NVMe before cloning. That and contrary to the precise interpretation of the instructions, DO NOT hold the Clone button down for 3+ seconds UNTIL all the progress lights start flashing. Just hold it down for 3'ish seconds AND RELEASE as soon as all 4 lights power up; they will start flashing in less than a second as intended. If you hold it until they start flashing and then release (as instructed), it for some reason appears not to work. So the cadence to I found successful to use is: 0) Initialize the target disk if possible 1) insert source disk 2) insert target disk 3) plug in power cable to cloner 4) push power button 5) wait for the 3 side blue leds to light up indicating drive recognition 6) Push and hold the Clone button for 3 seconds JUST until all 4 progress leds turn on, then let go. 7) Observe/confirm the progress leds are all flashing and wait for them ALL to stop flashing indicating process completion (clone time depends on drive size/speed). 8) Once all 4 lights are on/static, press the power button to turn off 9) unplug power cable 10) remove drives and install Target drive as planned. As directions state, you will likely need to "extend drive" in Computer Management to recoup any unallocated space from a larger target drive. A WORD OF CAUTION: This device begins to excessively heat up once plugged in; even with no drives or activity running. Do not leave it plugged in when not watching it. Do not leave your M.2 in for any longer than required. My Laser Infrared Thermometer recorded the device surface at 143+ degrees F during operation and again after a cool down and no drives installed. The top-end safe heat range for an M.2 drive is around 158F; too close to potential damage for my liking on a new 2TB 990 Pro. It may not be a fire hazard, but I'd treat it like one for due diligence since it heats up at all times. Or mine does.... However, once it works, it's great. Have done a couple drives now so happy with the purchase. Pricey for a cloner compared to cheap m.2 cases but way faster than via USB cable.
C**Y
Very good cloner
Used it to duplicate my NVMe as my main drive to a larger drive. Clone in the drive with no issues took about an hour. Easy to use no drivers necessary. Connects with USBC, qualities top notch.
C**A
It works... but need to read the owners manual to the correct instructions
Got this unit today, and it works as an external drive just fine. With a pair of M.2 NVMe drives loaded in it, you can see both drives just fine. The stand-alone clone is trickier. I watched the videos and followed the instructions on this page, and it just would not clone. Pressing the clone button until the lights start flashing just sat there and did nothing. I did not have it connected to a computer, before I cloned I did verify that both drives would show up on the computer. I did a scan on both drives and there were no issues. I then found the user manual (which is not included in the packaging), and looked it over. The instructions there were to press and hold until the light flashed, then release and press the clone button again. Now the lights are flashing a different pattern and the clone worked. I then checked out both drives on the computer, and it did a fine job of partitioning the new drive with the recovery partition and a couple of other partitions that were on the original drive, and all is well. I took off one star and gave it only 3 stars on Tech Support for having incorrect instructions and not including the user manual with the packaging (only the user guide was included and it also had the wrong instructions. The unit does get quite warm while it is on, even when nothing is happening with the drives. I would suggest not leaving it unattended or overnight with it on. Also, you really should put it on a surface that will not melt or burn. It works very well, once you get to know how to use it.
L**H
Keep it cool
I bought this to try to clone offline. I have Easeus, which a great program, but it can take a while and will not always clone the os properly. I read the reviews and they say the M.2 will get hot. I recommend installing a heat sink to all M.2 drives. I Put a small desk fan on the dock when cloning. I cloned a 256gb 960 evo to a 990 pro. It clone in under a minute. You will have to resize the drive to get the full capacity. Which is normal. The bay works as a docking station too. You can verify the files and resize the drive from the dock.
Trustpilot
2 weeks ago
2 months ago