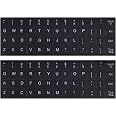

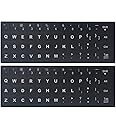
🖥️ Upgrade Your Keyboard, Upgrade Your Life!
The 2PCS Universal English Keyboard Stickers are designed for laptops and desktops, featuring a matte finish for durability and water resistance. With easy installation and removal, these stickers enhance the appearance of your keyboard while serving as a valuable tool for language learning.


| RAM | 12 MB |
| Brand | FORITO |
| Item model number | FM-KBSK-EN |
| Item Weight | 0.317 ounces |
| Product Dimensions | 7.09 x 2.56 x 0.04 inches |
| Item Dimensions LxWxH | 7.09 x 2.56 x 0.04 inches |
| Color | English-Black/White |
| Number of Processors | 1 |
| Computer Memory Type | DDR3 SDRAM |
| Voltage | 12 Volts |
| Manufacturer | FORITO |
| ASIN | B01NBTMQAL |
| Is Discontinued By Manufacturer | No |
| Date First Available | January 11, 2017 |
K**T
Just what I need
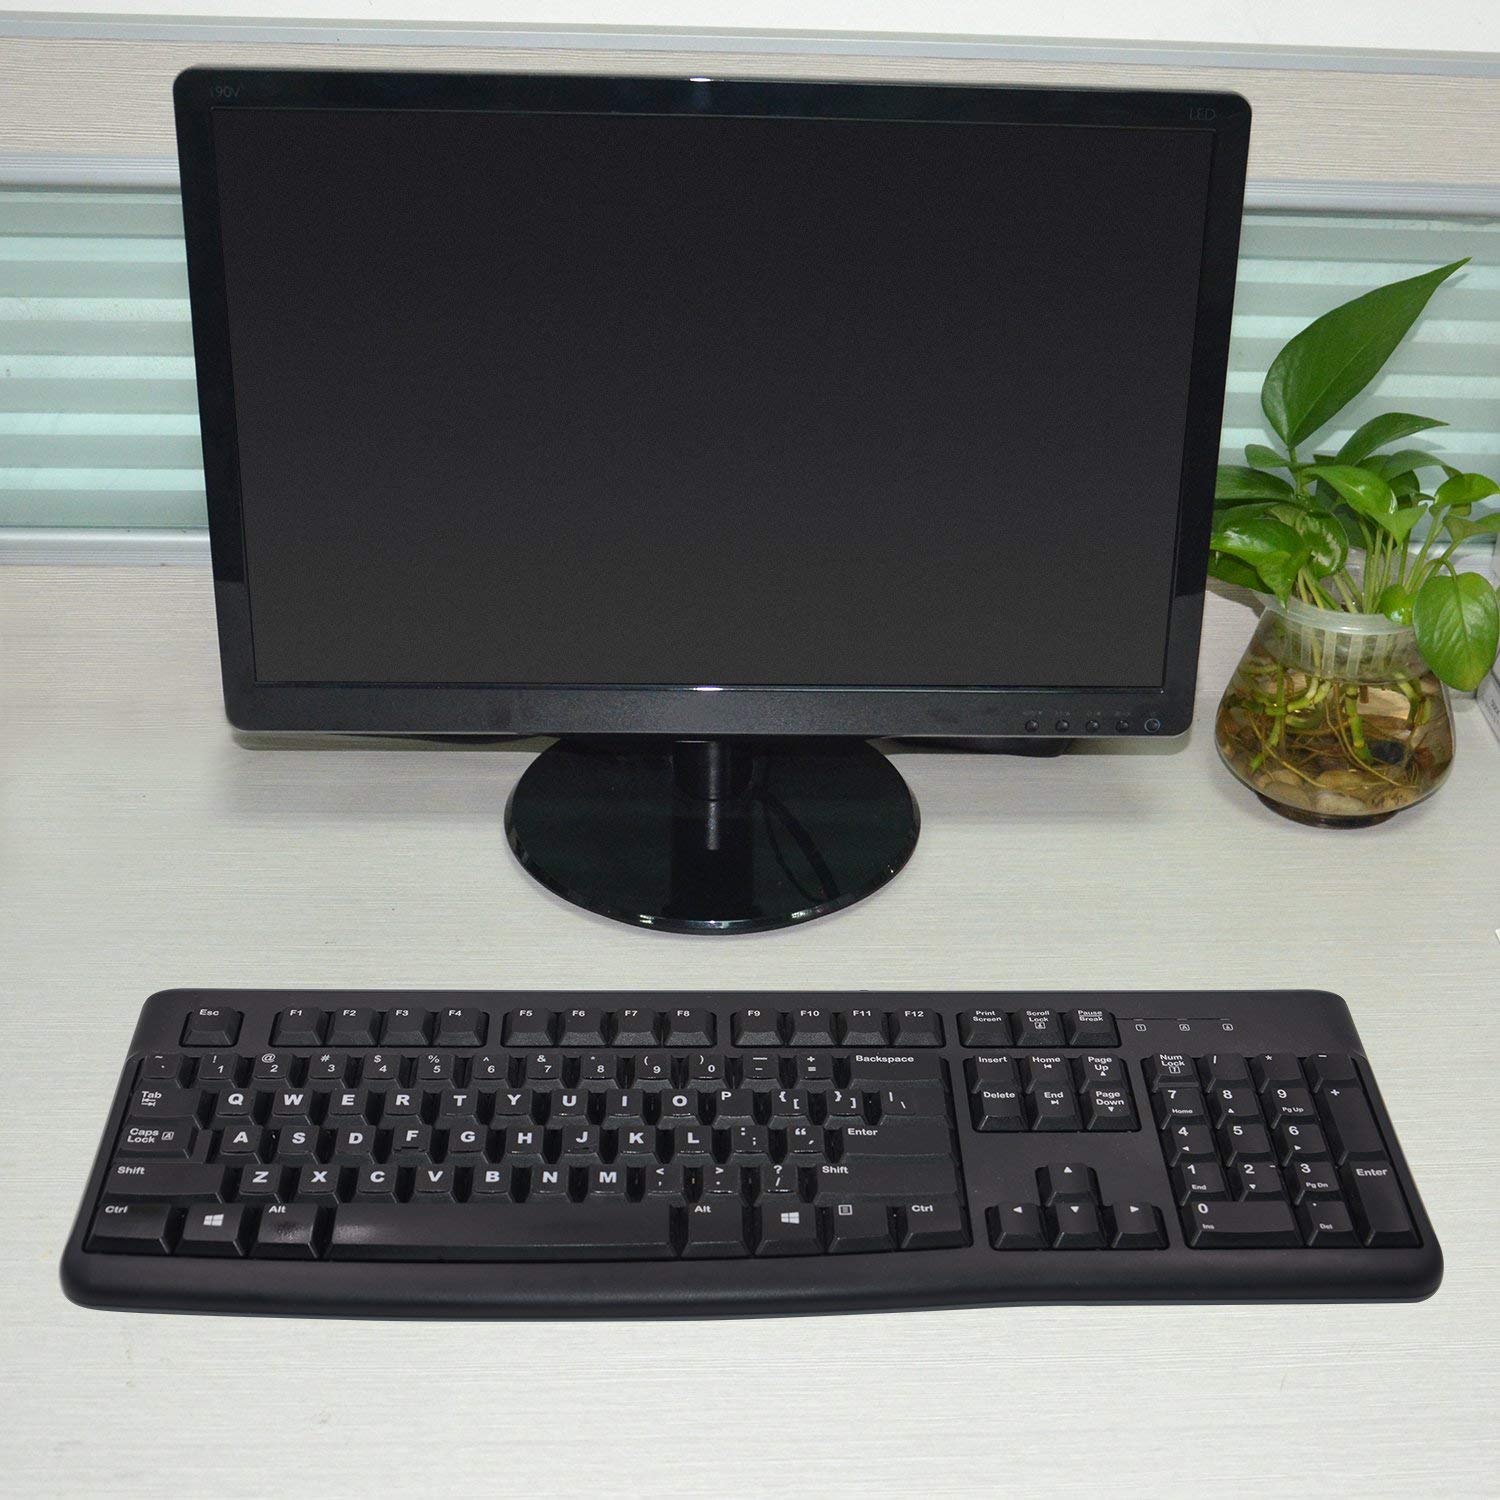
Now I can see the letters on the keys.
T**W
My detailed instructions on how to put these stickers on your keyboard.
Wash your hands real well. If you have some 91% alcohol rinse your hands in that. Dry your hands thoroughly.The idea is for no oil or contaminants to be on your hands to mess up the sticky part of the sticker in case you touch it. At the same time clean an xacto knife or your smallest pocket knife. Before cleaning, dull the blade slightly by dragging it on a surface. If it has already been used a few times and is already dull then - perfect. Razor sharp is bad because it's too easy to accidentally cut the sticker.Start with the least important stickers first so you can develop your process to a fine art for the important ones.Turn the sheet over, wax paper side up. Use a clean xacto knife (or a sharp tool). Don't cut with the knife but rather slide it under the white wax paper of a single sticker. Lift up the paper square entirely and completely tear it away. The letter should still be in the sheet. Then place that single wax paper square back down but just slightly off center.(1/32 to 1/16 inch) Flip the sheet over.Now punch out that single letter with your fingers. Since you put the wax paper square slightly off center an edge of the wax paper should be sticking out one side. Use the xacto knife to push that edge back so you can slide the knife under the sticker. Slide in about half way. Push the sticker down onto the knife so it just barely sticks to it. Peel the rest of the wax paper square off and discard. Now one side of the sticker is stuck to the knife so hold the knife so that the sticker lines up on the target key just right. Push down the free side of the sticker. Gently twist the knife to loosen it from the sticker and slide it out. Push the sticker the rest of the way down. Push firmly and rub it a little. Obviously your computer needs to be off.As you proceed you may have to adjust your approach to how much of the knife you let the sticker stick to. You want it to be just enough to hold the sticker without falling off as you center it up on the key but not so much you have to to fight and damage the sticker to get the knife loose.
A**R
Great way to get back the characters on a keyboard!
Easy to apply (I cleaned the keyboard of dust and the keys w/alcohol by cotton tip first); I only had to remove and replace one sticker in the beginning as I applied it. It was already adhering quite well and I was concerned it would get a crease or crimp in it after removing and reapplying. It went back on just fine. I do not know which sticker it was at this point - it went back on that well. I would suggest using tweezers to apply stickers. I had several other stickers in a row which ended up with the corner not quite on the key. [ ] \ keys were difficult for me to place. They hung over the upper right corner and grabbed my fingers as I typed. After applying pressure to the corners, although visible if I look at them closely, they no longer grab my fingers as I type. I like the appearance and texture of the stickers. They made my keyboard characters visible 'like new'. There is a notch cut into the "F" and "J" key stickers which allow for the raised notches of the keys to be felt for placement of the hands on the keyboard. I had not thought of this, but they had. I was concerned I would feel (all of) the stickers by the edges or otherwise. No concerns now that they are adhered. I chose this package in part for the extra stickers. I did not use the "Shift (w/up arrow)" and there is an extra " | \" sticker. I would also suggest either turn off your PC/laptop or open a blank document so that you can press the keys for a bit as you apply them. As I view the pictures I notice in one of them the stickers appear shiny, that was of course due to the lighting. I also notice I didn't get the stickers on as straight as I thought - but in sitting at the desk, using the keyboard, none of that is visible. It just looks like a new keyboard (plus or minus dust and direct lighting).
S**R
So far it works well
My keyboard is old and gross, but I like this specific model and it's hard to find a replacement. I've tried stickers before, but the adhesive gets squishy and the stickers slip after a while. I will update if these do the same, but I'm hoping they stay put. I alcohol swabbed each key before putting on the stickers. The stickers are slightly stiff (meaning not flimsy) and have a texture similar to my keyboard when it was new. The letters are bigger than the original and I appreciate that. They even have the notch on F and J since most keyboards have a bump on those keys. So far so good! Only downside is it's not a complete keyboard set. Only one each of Shift, Ctrl, Alt. And no Backspace, Enter, Delete, etc. Also none for number keypad. It's okay for me because I really only wanted the alphabet. (First photo is left side of my keyboard before, some letters gone, some I had tried to paint on with nail polish but that rubbed off too. Second photo is putting on stickers, showing the notched F key. Third photo is left side of keyboard with all letters replaced.) // Update. It's been quite a while. Most of the stickers are still in place. The adhesive has gotten gooey and slippery under a couple on the left side. I will probably gorilla glue those back on. Overall, I still like it!
Trustpilot
3 days ago
2 months ago

![English Keyboard Stickers[5 in 1],Replacement English Keyboard Sticker with White Font on Black Background Universal for Laptop Desktop Computer,Matte English Keyboard Alphabet Sticker](https://images-na.ssl-images-amazon.com/images/I/71dWsV25qkL._AC_UL116_SR116,116_.jpg)