


🎮 Unleash Your Switch's Potential!
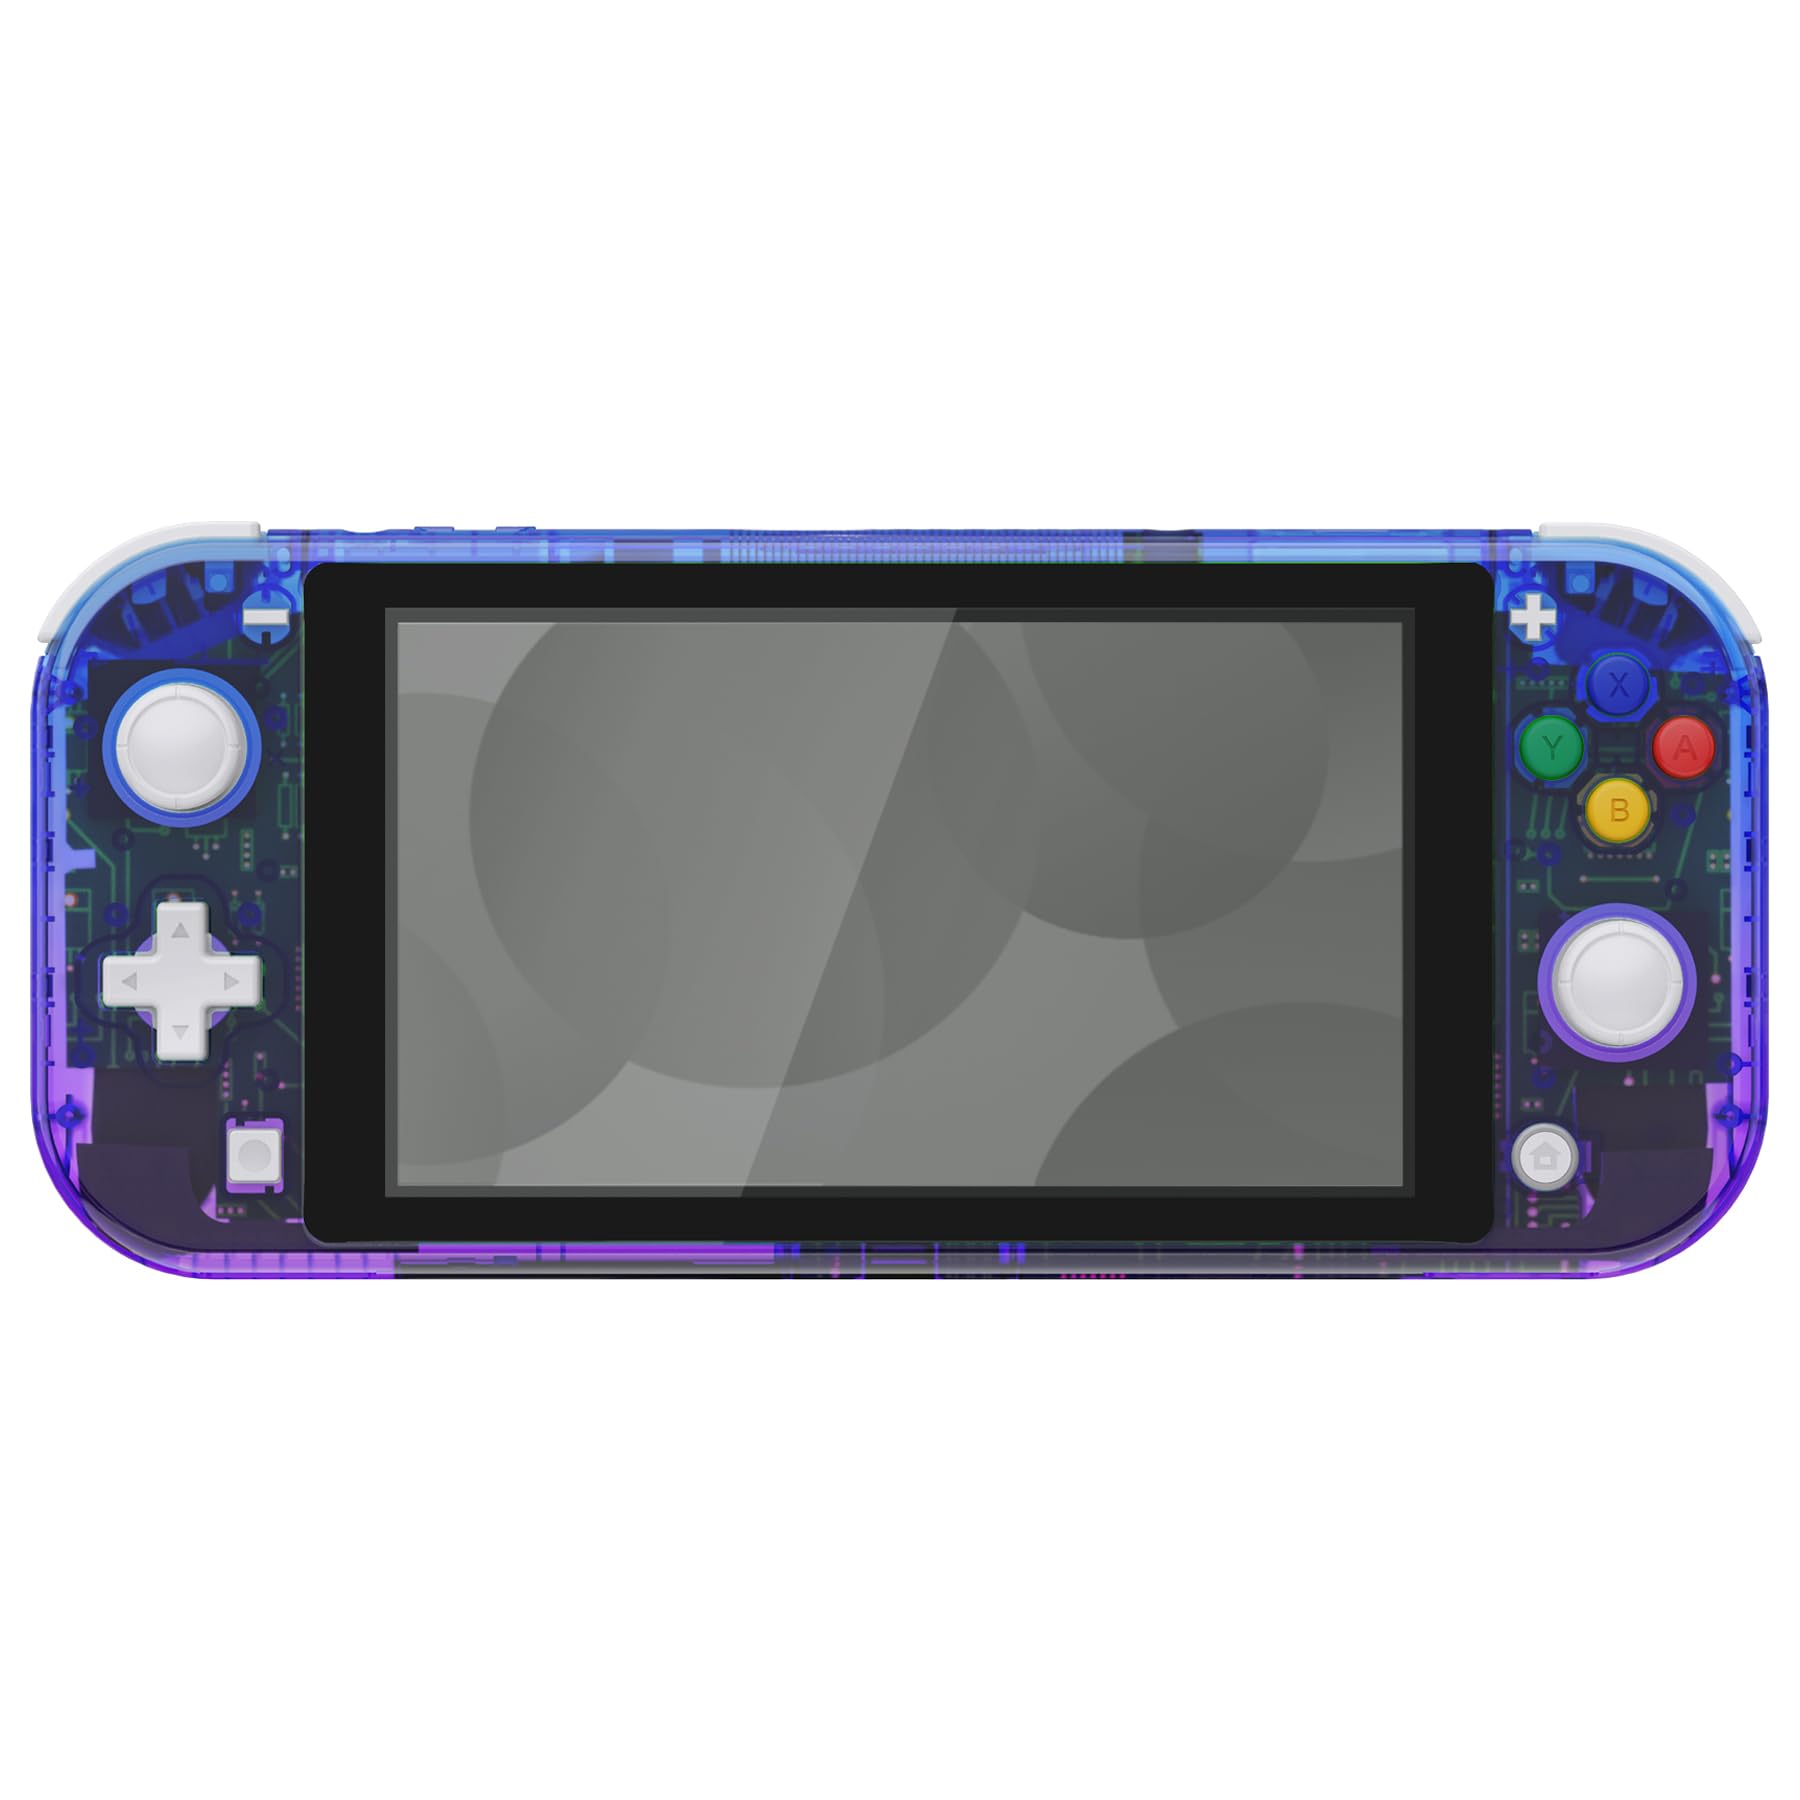
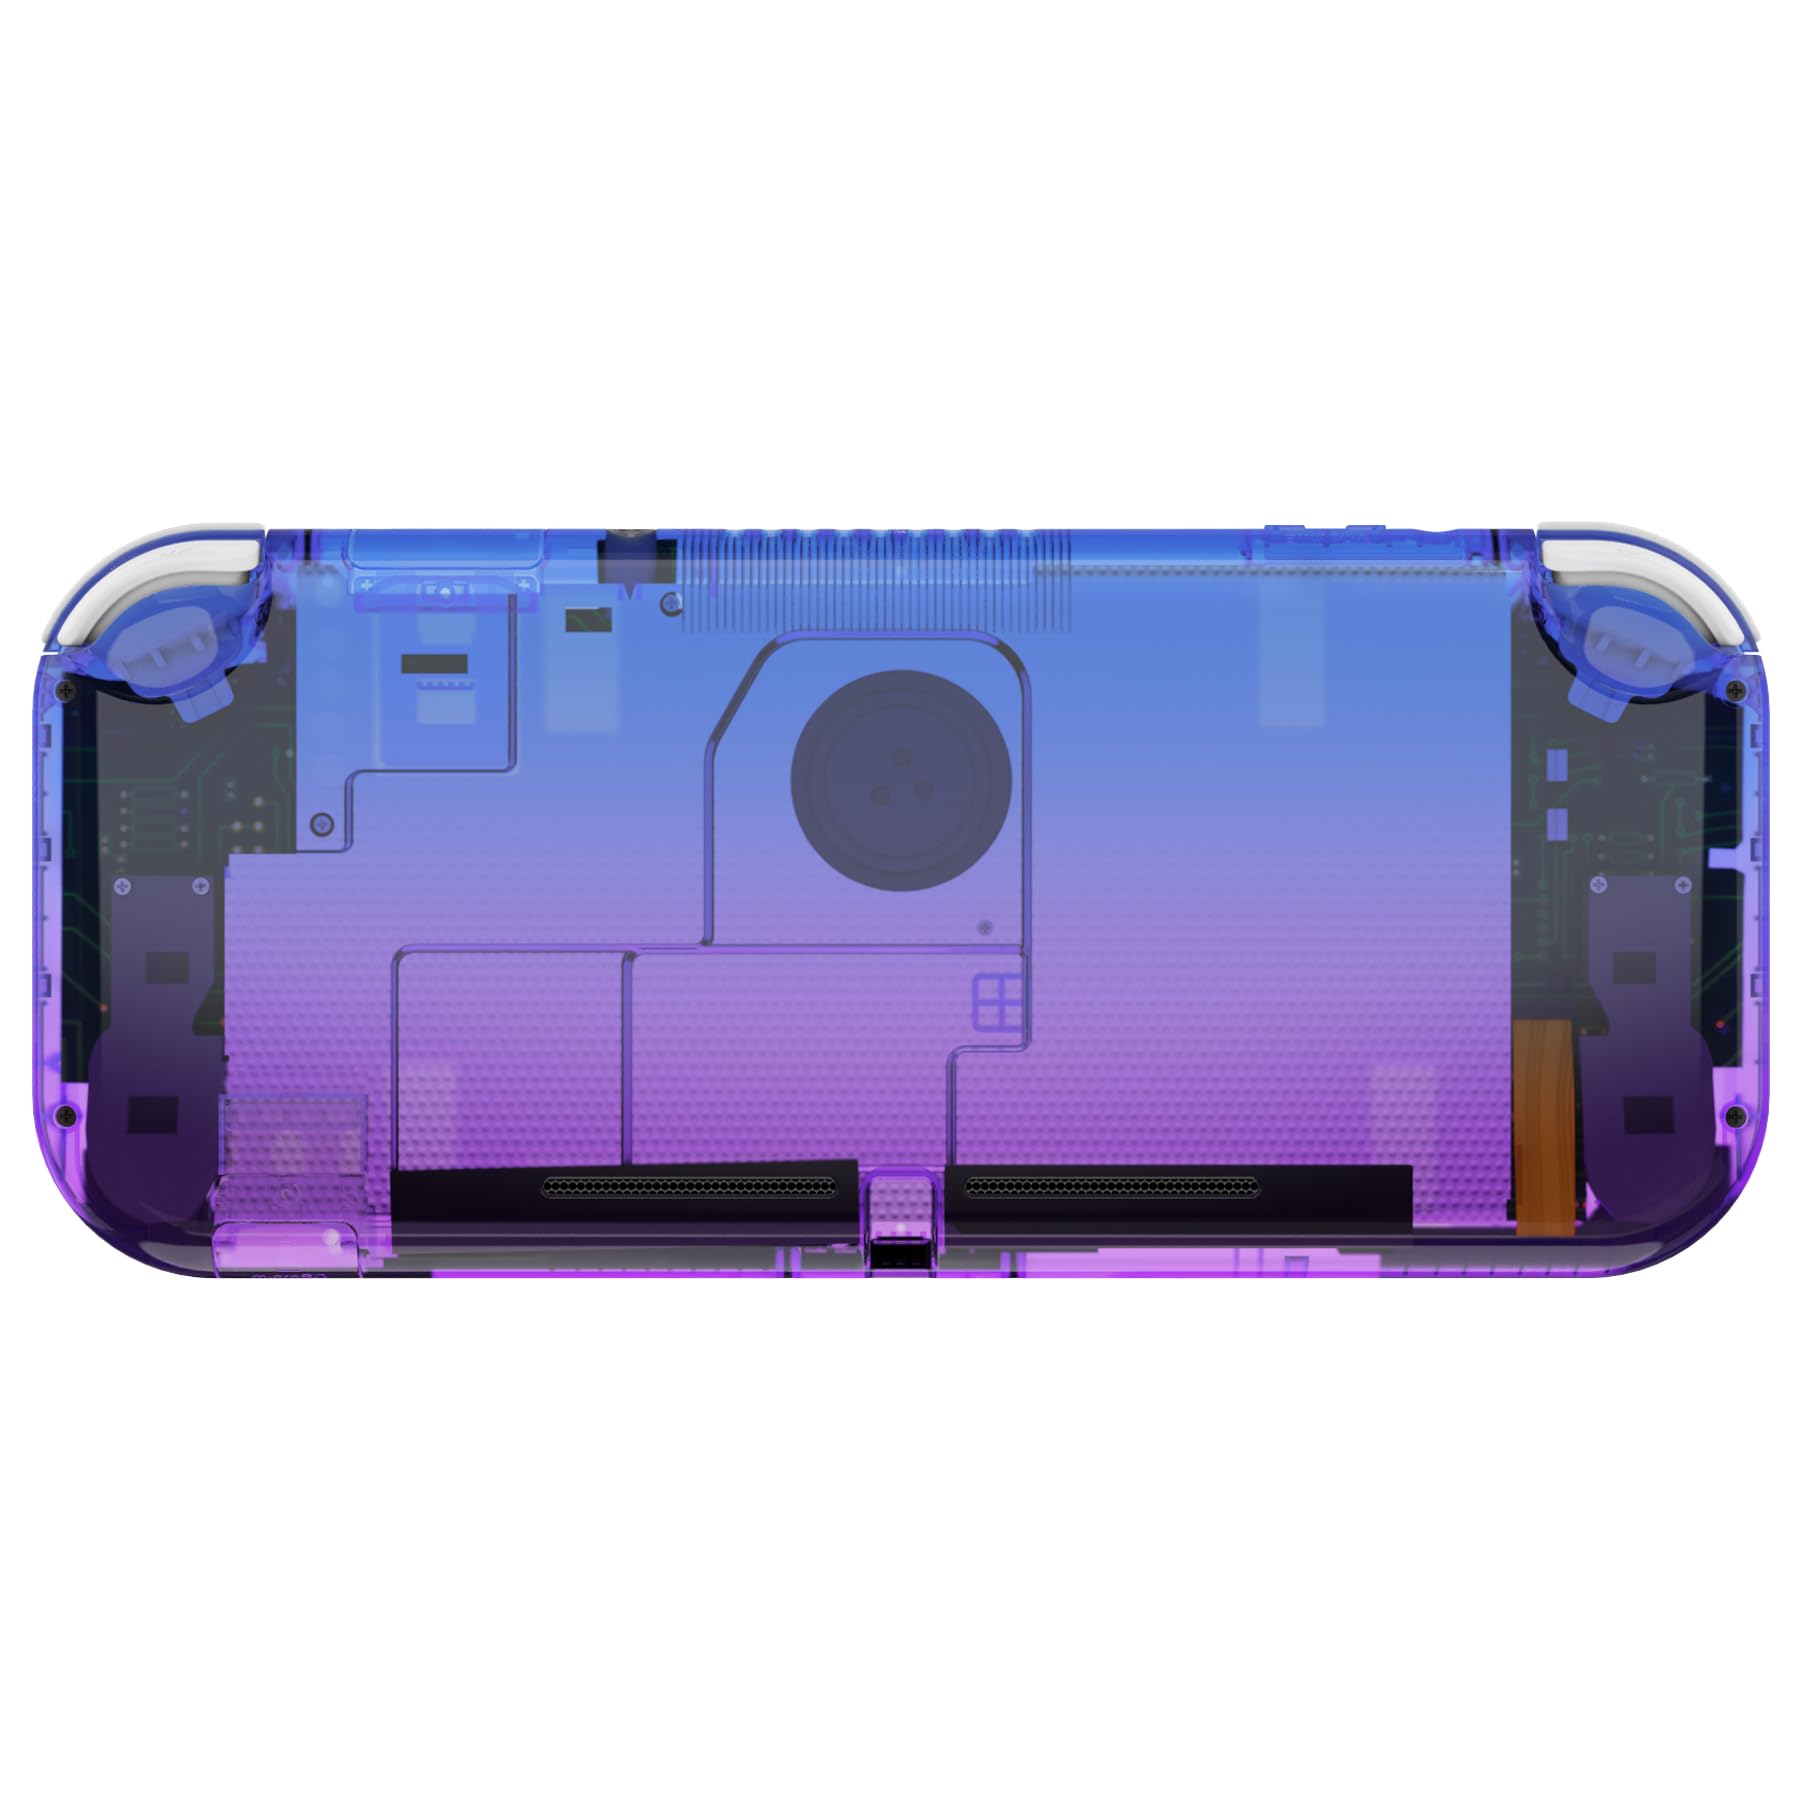
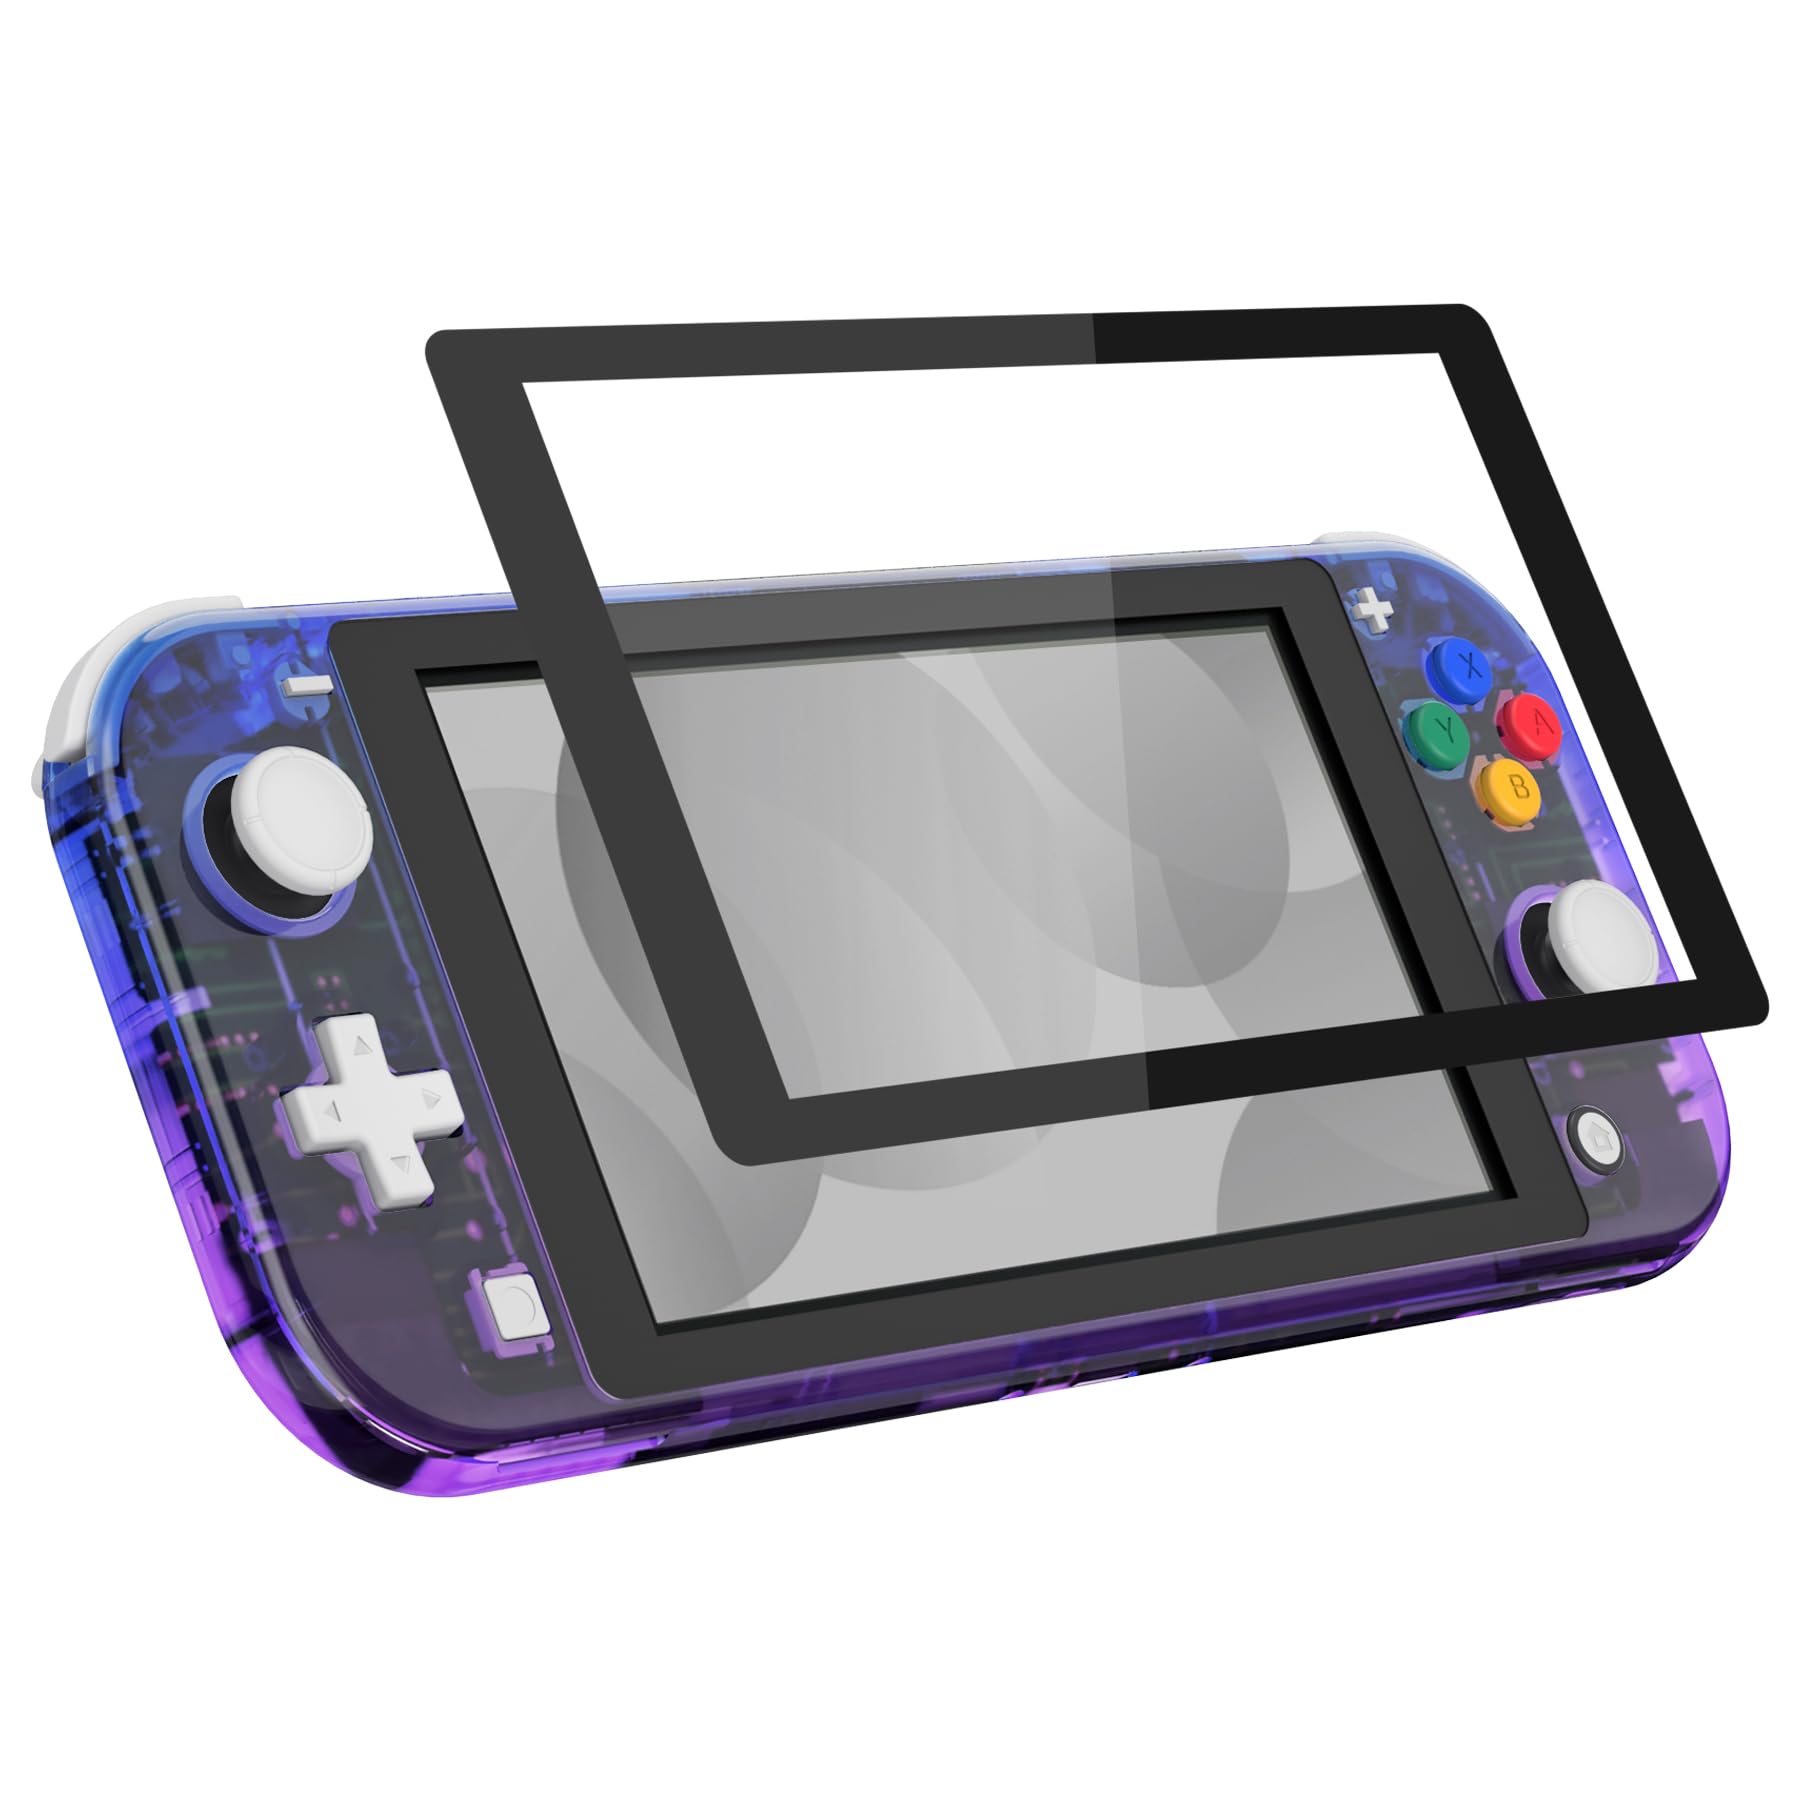
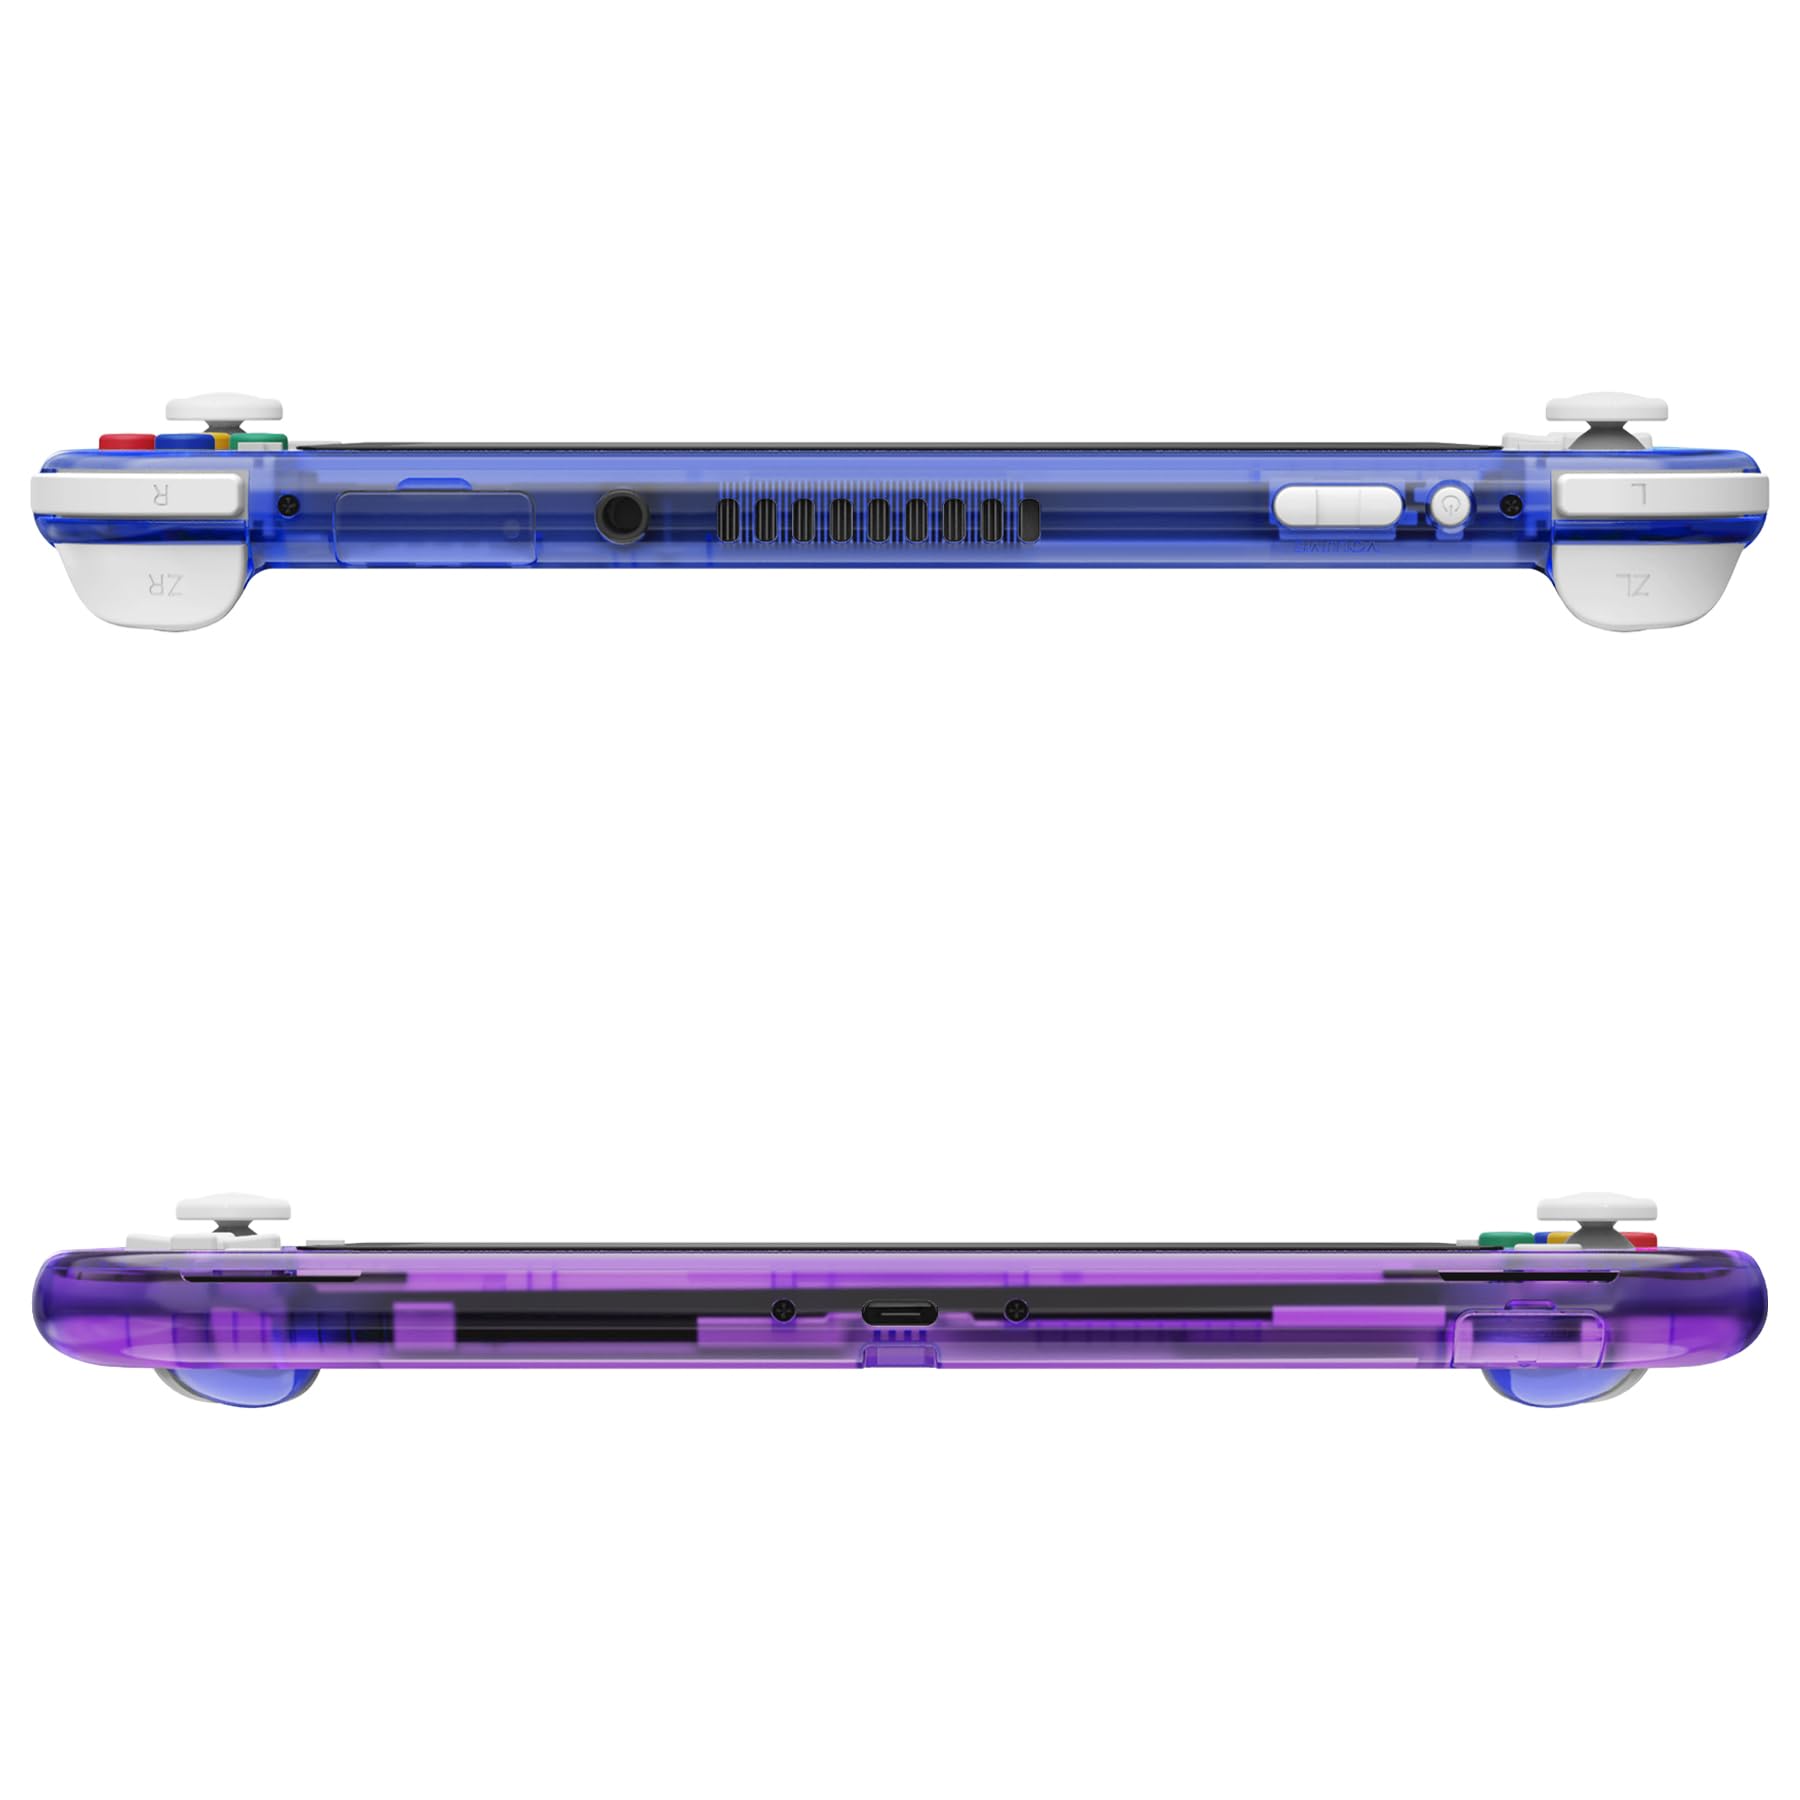
The eXtremeRateGradient Translucent Bluebell DIY Replacement Shell for Nintendo Switch Lite is a custom-designed housing that enhances both the aesthetics and functionality of your device. Made from durable ABS material, this kit includes a screen protector, colorful buttons, and all necessary tools for installation. Perfect for gamers looking to personalize their Switch Lite while ensuring it remains protected.
D**N
A BEAUTIFUL replacement shell for the switch lite
I’ll let the images speak for themselves. It’s a beautiful piece of plastic. Durable and feels like the original material.
P**Y
High quality shell! Can’t wait to see more options!
Been waiting for the extreme rate switch lite shells to come out! I have the NES version for the regular switch and know the shells to be great quality and this does not disappoint. Very high quality shell with soft touch finish. I got the black which Inherently is a fingerprint magnet, so beware about that. The tools provided worked well, and the buttons and microsd and game flaps fit well with the shell. Everything closed up nicely and there were no difficulties in screwing anything in. The extremerate video is a great guide. Did the install in 1 hour. This is for the moderate to expert modder. Difficulty 8/10 as there are a lot of parts to keep track of. I used a hairdryer on low and carefully separated the screen from the frame with the tape intact. It can be done! I cut the switch logo in vinyl and it looks pretty good. Can’t wait for the NES version!
C**D
Difficult at times but worth it
Not a project for those easily intimidated. You'll need a heat gun or a hair dryer and some patience.The walk through video has no audio steps but a very good visual walk through of what to do.Fantastic product, the fit and finish is in my opinion amazing. I could not be happier with the end result.I got it all put together and as luck would have it a cat hair got stuck under the screen protector when I went to apply it.I emailed rhe company wanting to see about ordering another and fully prepared to pay for it. They just confirmed my order number and sent one out to me.Polite professional, friendly, quick service.Would absolutely use this companies products again. I'm beyond satisfied with their product snd customer service.
K**D
Beautiful shell but wish it included tweezers and a spudger
I’m not super experienced with messing around in little tech things. The most I’ve done was replace the battery in my 6s successfully, but that’s about it. This kit was fairly easy to use and the process was enjoyable except for a few times but those things didn’t have much to do with this shell. I really like the result but I wish they’d included a little bit more for the tools.— For one, tweezers and a fine spudger would’ve been a great addition. They’re very much essential and I wouldn’t recommend messing around with the delicate parts without a decent pair. I was able to get mine all together without having the righy tweezers and using my fingers in place of a spudger, but that is a little risky considering you could easily mess something up. I’m planning on buying a full Switch when I can anyway, so I decided to simply work with what I had. Would not recommend this method if you have a Lite you plan to keep.— I would’ve liked to see the included screws separated into labelled bags or something like that. This isn’t a negative, just something that would’ve been nice.— The screen protector wet wipe may need to be packaged differently or something. When I opened mine, both wipes were totally dry. I didn’t have any other wipes because I used my only alcohol pad to clean up the thermal paste. Maybe mine was just old? I’m not sure.Note to anyone that isn’t a God at not stripping tiny screws: You may need a screw extractor, a small dremel and a tiny flathead, or a cold heart for this. The project took longer than expected because I stripped a screw in my headphone jack board and couldn’t remove it no matter what I tried. Had to cut that corner of the PCB with my Xacto knife and take the loss. Thankfully, the system works fine either way, but I didn’t realize Switch screws were so soft. The mangled bit of the board caused a little issue with space so my Switch isn’t closed as tightly as it could be but I’m tired and I don’t care anymore. I’d recommend looking at removal videos before purchasing this kit just in case.Overall, I’m pleased with the outcome. My switch is pretty and I’ve fallen in love with it all over again. It feels silky and I love looking at it. Would certainly purchase again!
M**N
Smooth and gorgeous
While the matte colors come with a softer feel to the plastic (not in durability, just in texture) the shiny ones have a much sleeker feel to them that is just as wonderful. The colors look fantastic and the outcome is fantastic. All that being said, I do not recommend someone without experience fiddling with electronics try this. If you intend to regardless, please watch their tutorial video (its on youtube) and understand the potential consequences of your actions are your own. You could permanently damage your switch or need replacement parts if you arent careful. I surely don't want to scare anyone out of doing it - Im 21 with only hobbyist experience and I've done it twice just fine - but it is a time sink you have to get done in one go (4 hrs nonstop was my original time but 40 mins of that was my own fault) and there may be consequences to not being careful.Having your own customized switch is a lot of fun, though, and fantastic when you get to show it off to your friends. Great quality, fantastic color, but be informed.
D**S
Great results!
I love the way it turned out! Used black buttons and black bezel screen protector from the same brand and some new black switch joysticks. It was a much easier install than I thought it would be. The included tools weren’t the best but I had my own. I was mostly worried about the screen removal but with a heat gun and some patience, it came out perfectly. Love the soft feel of the plastic and the fitment was great. I’ve used other extremerate products for my ps5 controllers and the quality has always been excellent. I’d definitely recommend this shell and don’t be scared of the install. Follow a good guide like ifixit, use quality tools, and take your time.
N**E
Beautiful
Took me an hour to complete. I’m not tech savvy but it’s pretty easy to understand what to do if you follow the instructions. Better to unplug the power first and then do the other stuff.Btw my only experience was switching to the white shell before this (which took me hours and always had problems with screen not turning on and me panicking if I fried the battery), otherwise no other real experience ..The white shell was amazing tho don’t get me wrong and it was matte and soft to touch but unfortunately got messed up when wiped with an ORANGE microfiber so the sides look rusty orange :’)… I attached the pic if anyone wanted to know what it looked like with white and grey. I kept the white power buttons from the white shell for the gradient shell. Thinking to switch to the black screen protector to have a cleaner look and less distracting. The gradient shell is shiny and felt like hard plastic.The only problem I had during shelling was my L button. Always had trouble making it click, was squishing the button. Had to take a chance and file the part down a bit - which didn’t quite work but if you lift the button up and screw the cover on the same time, it kinda just stays in the correct position. Hard to explain but it’s kinda dumb they make it like that
T**9
Excelente calidad, instalación compleja
El producto es excelente, la calidad de los materiales es impecable, incluso pareciera que es un producto con licencia de Nintendo pero hay varias cosas que tomar en cuenta.En primer lugar ten cuidado, si tú consola tiene garantía no compres este producto ya que para instalarlo violas completamente la consola con lo cual pierdes cualquier tipo de garantía.Por otro lado deben tomar en cuenta que este producto no es tan simple como cambiar una funda o protector, instalarlo involucra desarmar por completo la consola y armarla nuevamente en esta otra carcasa. Un niño~ adolescente no podrá realizar este proceso por si solo ya que la cantidad de piezas que se manipulan requiere mucha atención y cuidado para no descomponer la consola.Toma en cuenta que intalar esto te lleva alrededor de 4 horas (yo tarde 5) y se tiene que ser muy cuidadoso en especial te recomiendo mucho que antes de manipular cualquier cable (cosa que vas a tener que hacer) primero desconectes la batería ya que hay muchos comentarios de personas que comentan que comenzaron primero a mover y retirar los cables sin desconectar la batería y eso quemó sus consolas. El fabricante del producto tiene videos pasó a paso de como instalar todo muy a detalle, solo intalalo siguiendo esaa guías para evitar cualquier problema.Por último adicional a los materiales que vienen con el producto vas a necesitar una pistola de aire caliente para retirar la pantalla, en mi caso utilice una secadora de cabello pero si es necesaria. Fuera de eso con lo que viene en el producto no requieres más.Insisto en que los materiales son de excelente calidad y el resultado final es impecable, me gustó mucho como quedó mi consola al final. Muy recomendable
A**R
Best Shell kit available!!
Best Shell kit available!!
Y**E
Parfait
Rien a dire vis fournie
A**N
Very good
Very easy to do quailty seems great, finish is fantastic and color is a lot nicer than I thought highly recommend
Trustpilot
3 days ago
1 day ago