Desertcart purchases this item on your behalf and handles shipping, customs, and support to Israel.
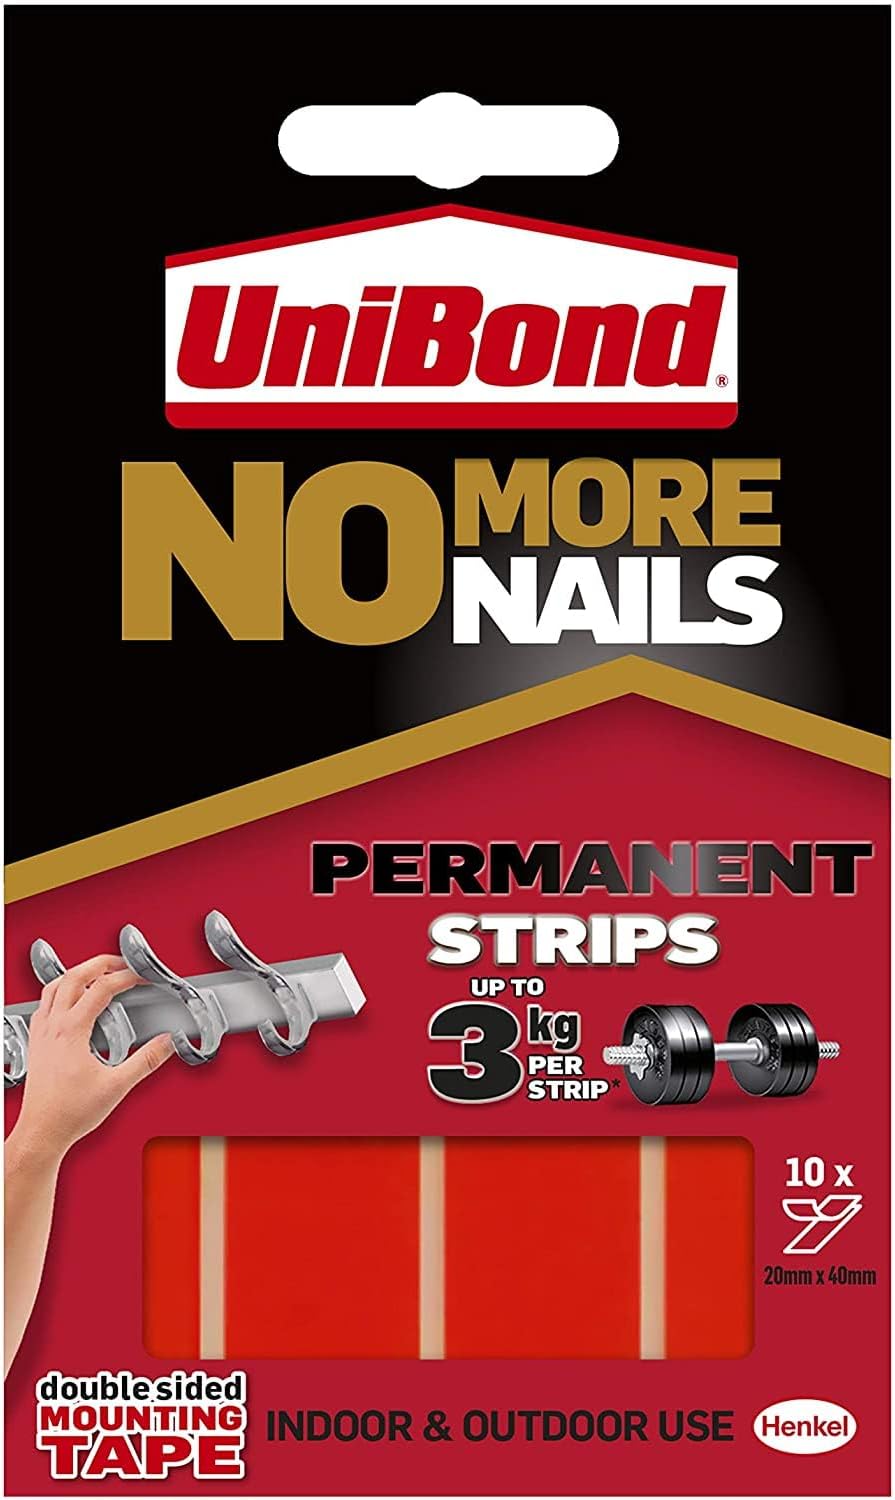
🔩 Stick with confidence—Unibond No More Nails, the last tape you’ll ever need!
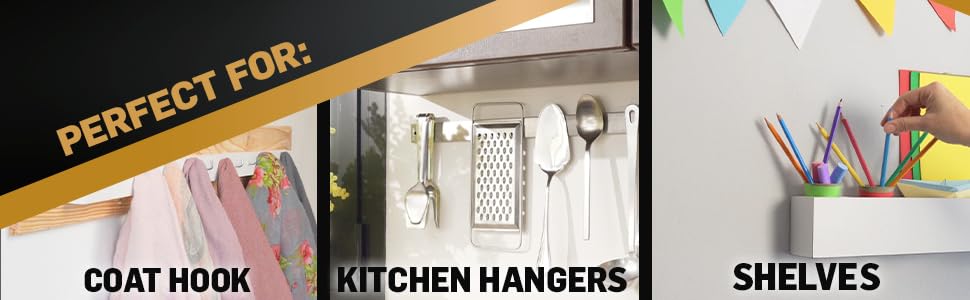
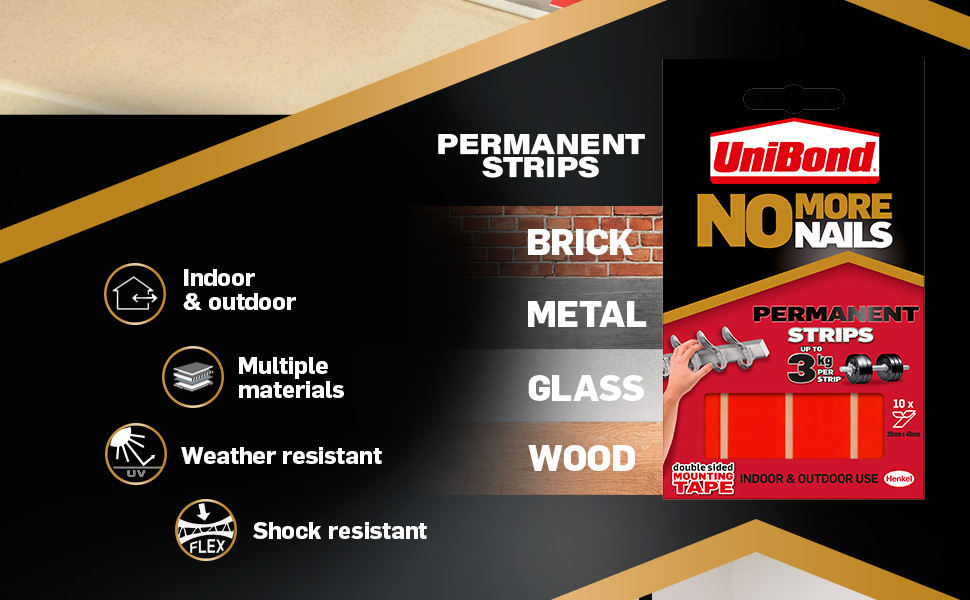
Unibond No More Nails Permanent Strips are high-strength, double-sided adhesive strips designed for fast, nail-free mounting. Each strip supports up to 3kg and bonds securely to a wide range of surfaces including wood, metal, ceramic, and plastic. Waterproof and white for discreet, durable use indoors and outdoors, these strips activate with pressure and cure fully in 24 hours, making them ideal for professional-grade mounting without damage or mess.


| ASIN | B000Y8OLSA |
| Best Sellers Rank | 1,264 in DIY & Tools ( See Top 100 in DIY & Tools ) 11 in Picture Hanging Strips |
| Brand | Unibond |
| Colour | White |
| Compatible Material | Glass |
| Container Type | Package |
| Country Of Origin | China |
| Customer Reviews | 4.0 out of 5 stars 7,832 Reviews |
| EU Spare Part Availability Duration | 1 Years |
| Full Cure Time | 24 Hours |
| Global Trade Identification Number | 05010383051327, 05010383051334 |
| Included Components | UniBond No More Nails Strips - Permanent |
| Item Form | Strip |
| Item Package Quantity | 1 |
| Item Type Name | UniBond No More Nails Strips - Permanent |
| Item Weight | 0.64 Ounces |
| Item form | Strip |
| Manufacturer | Henkel Ltd |
| Manufacturer Part Number | 5114 |
| Material | Plastic |
| Model Number | 600685 |
| Number of Pieces | 1 |
| Other Special Features of the Product | Permanent, Waterproof |
| Special feature | Permanent, Waterproof |
| Specific Uses For Product | General |
| Specific uses for product | General |
| Tensile Strength | 6.6 Pounds Per Inch |
| Unit Count | 10.0 count |
| Viscosity Level | Medium to High |
| Water Resistance Level | Waterproof |
Y**S
WARNING: Extremely strong adhesive - ignore the negative reviews
First of all, the negative reviewers clearly didn't read the instructions on the back of the box. You need to clean the surface of what you're mounting onto, as well as the item you're mounting, as to get rid of any dust, water, or oils that will mess with the glue. Then once you've mounted the item, you need to hold it against the wall firmly, if it's a heavy item you should press it hard against the wall for a good 3-4 minutes. I have personally used them to mount a 2kg ethernet switch plus a 1kg 8-plug UK extension lead onto an indoors concrete painted wall. They were still stuck to the wall 4 months later when I had to move. While trying to unmount them, it took me a good 10 minutes involving a strong flat knife (which was bent in the process) to get them back off the wall. The funny part is that the strips themselves didn't actually budge, instead I had completely ripped the paint off of the wall! If you actually follow the instructions instead of just instantly applying them and slapping it onto your wall, then you'll experience an extremely strong adhesive. I've also happily mounted two Google Nest smoke alarms (which weigh around 1kg each) using just 2 permanent strips for each. One mounted on the ceiling, the other against a wall. Several months later, both are still perfectly in place with no signs of detachment. Note: I'm talking about the Unibond PERMANENT strips (with the red plastic on them), not the Unibond yellow ones. I'm thinking some of the reviewers might be confusing this product with the yellow non-permanent ones, which only work for extremely light items (think no heavier than a standard TV remote). Now, if the instructions on the back of the packet aren't clear enough, here's my own step by step instructions and tips for getting a "permanent" stick: ================================ 1. These strips work best on a flat, smooth surface, such as a concrete wall. Be warned that there's no real method to remove them (note the word "PERMANENT" in their name) unlike certain other strips - if you're mounting something onto a wallpapered wall, they will very likely tear the wallpaper off if you try to remove the item, or if the item is too heavy. 2. When using these strips, first make sure the two surfaces (i.e. the wall, and the thing you're mounting) are clean and dry. Surfaces can accumulate dust, lint, and oil from your household, and this can prevent the adhesive working properly. Suggested cleaning methods: - (easiest) lens cleaning wipes - ideally ones containing alcohol. those of you who wear glasses may find this the most convenient method. - 99% isopropyl alcohol (https://www.amazon.co.uk/gp/product/B003D8SDSW) - one of the best options as it's generally safe for most surfaces, shouldn't cause any damage to electronics as long as they're turned off, and generally evaporates within a few seconds of application without leaving any residue. if you don't have any, buy some! it's extremely useful for cleaning electronics without the risk of water damage. - methylated spirit - not exactly common in most households, but is recommended by unibond. be warned that methylated spirit is highly toxic and can damage certain materials. NOTE: when using liquids to clean the surfaces, use a fresh microfibre, or lint free cloth (e.g. AF Safecloths https://www.amazon.co.uk/gp/product/B001J8F7OQ/). other cleaning cloths can leave small amounts of lint or oil that can prevent the adhesive working properly 3. After you've cleaned and dried the surfaces, you should apply multiple strips onto your item and evenly distribute them depending on the size and weight of your item. General rule of thumb - the more strips you use, the more likely the item will stay mounted. Avoid pressing too hard when applying them to your item, or you'll have trouble removing the red tape once you're ready to mount it. - For small items (no wider than a normal sized mug) that weighs less than 1kg, you may be able to mount them with just a single strip in the center. (e.g. small smoke alarms) - For square(-ish) items such as routers, you should ideally place one strip in each corner of the item, plus one strip in the center - this ensures the weight is evenly distributed. - If the item is around the size of (or larger) than a sheet of A4 paper, and weighs at least 1kg, then you should place at least 3 or 4 strips across each edge of the item (similar to mounting a poster with blu-tack), as well as 1 or 2 strips in the center (to prevent too much weight going to the bottom strips). 4. Remove the red tape from each strip, and then carefully press your item onto the area you'd like to mount it. Once you've positioned it correctly, firmly press your item against the wall, making sure to apply pressure to the points with strips behind them. Keep the item firmly held against the wall for at least 2-3 minutes (if the item is large/heavy, more time is better), and apply a lot of pressure as the adhesive seems to be pressure-activated - the more pressure you apply, the stronger it will stick. 5. After enough time has passed, slowly release the item. - Upon releasing the item, watch it for a few minutes to ensure that it's staying put. If the item starts to come loose from the wall, re-apply pressure to it immediately. You may have needed to press it harder and/or for a longer period of time. - For best results, re-apply firm pressure for several minutes after a few hours have passed, this helps to ensure the adhesive has good contact with the surfaces, and will sustain good contact after it settles. - If the item is heavy and has a lot of frontal weight (e.g. a shelf or cabinet), you should place something underneath it that can support it's weight, as the adhesive may need up to 24 hours to settle enough to support it. ================================ If you follow my instructions and consider my tips, then it's likely whatever you mount using these strips will be stuck there for good. DISCLAIMER: This is a 100% honest review based on my own experience. I have not been sponsored by Unibond, Amazon, nor any of the product's I've linked in this review.
L**Y
Best double sided permanent stickers ever
This tape is amazing! I have tried all the other double sided tape but none have worked until I found this! I needed to hang curtains to cover a gap under the sink but I couldn’t use screws or nails. This tape was so sticky but very easy to place. I put it on, left it 24 hours before hanging the curtains but it’s been great. There has already been water spilt on it but it’s still there. The size of the stickers are great, there were more than enough to put up 3 large hooks. Absolutely brilliant, I’ll be using these from now on
K**P
Good but Fiddly
Why did they make it so hard to get the backing tape off?? This proved really fiddly. I ended up using a Stanley knife and would recommend you use something similar as you need a a really thin, flat object to get the backing tape off and away from the pad without ripping the pad back off. I guess this is what you get with this level of stickiness! They adhere really well and take only a couple of seconds to fully 'cure'. Time will tell on the adhesive power of these, but so far, so good! Just a bit of a faff.
K**Z
Rubbish
Absolute rubbish. I’ve used no more nails in the tube for years and it’s always been fantastic and does exactly what you want to do. When I saw that it now comes in a strip I thought marvellous this makes life even easier. How wrong was I a small shelf? I put up in my utility room to hang the dog lead and collar on came off after two days ripping a large hole in my newly decorated wallpaper and smashing the dog bowl which was underneath. I’ve had to patch the wallpaper which has been no mean feat, buy a new dog bowl and go back to the tube of no more nails, which I’m happy to say is doing the job perfectly. Likewise, a small picture which I hung on the wall fell off and broke the frame. Don’t touch these with a barge pole. Stick with the stuff that works. These are garbage.
K**M
These things appear to be the business!
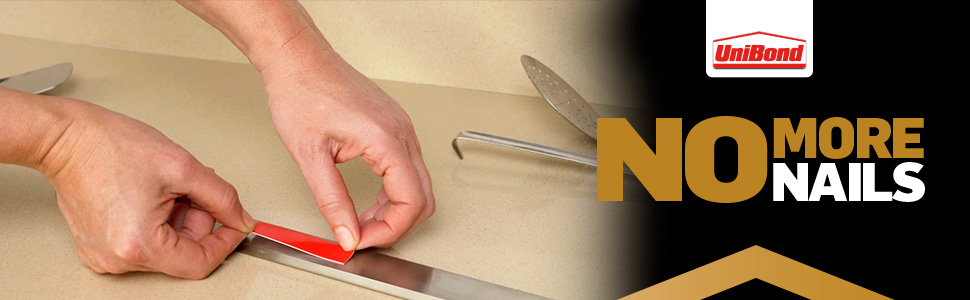
These were bought to hopefully solve an ongoing problem . . . I needed to find something that can stick A4 wallets to a metal surface which is open to the elements (hot/cold weather and rain). After some research I thought I'd give these a go! The packaging quotes that these will stick to metal - wood - ceramics - brick - stone - tiles - glass and plastic. They are suitable for indoor and outdoor use and are tolerant from -10 to +80 degress C. Note - the packaging also says that they are not ideal for polyethylene or polypropylene. Not suitable for wallpaper - teflon or mirrors. In use . . . You peel one off the plastic liner and stick it to whatever it is you're sticking somewhere. Then you peel off the red backing strip to expose the sticky side. Now you just get it into posistion and press down for a few seconds. It is recommended that full adhesion is attained after 24 hours. I will say that the red peel off was an absolute bugger to get off but I've got short nails so I ended up using a thin baded knife to tease under the red strip in order to get it off. Now they're up . . . They feel like they're stuck on more than they were ever stuck on before. The wallets will disintergrate before they will fall off - I hope! I'll report back if anything disasterous happens . . . Quick update - (22/8/17) The pads have performed brilliantly. Not a single one has 'come off'! However - the A4 folders have worn - torn - fell apart! The sticky pads win hands down. Now . . . I'm looking for a transparent A4 wallet that can withstand outdoor weather! Any ideas , please leave me a comment! 👍
C**E
Not the best!
Good job they were cheap as half the pack didn’t work so had to bin them! Was using them to stick 2 small book shelf’s to the wall for my son and one held perfectly but the other came straight off and they just didn’t feel sticky at all! But it was the same wall and I followed instructions. Probably wouldn’t buy them again.
T**U
Great quality, fits in perfectly for purpose
Held firm my wall clock pad, great quality for the value.
A**7
Awesome stuff
Umm yeah, be careful what you wish for…. This stuff is mega. I fitted a Ring doorbell (battery version) for my in-laws; they wanted it semi-permanent fitting to the front door (no drilling) at roughly peep-hole level. So I peeled all the soft foam off the back of the mounting bracket and replaced it with this no more nails product. Well blow me, I cleaned all surfaces with isopropyl alcohol (you can use methyl spirits) to degrease everything properly. Aimed the bracket and plop, stuck it to the front door. Levelled with spirit bubble, all good. I secured it to the door with some masking tape just to help adhesion and by goodness there is no moving this bracket at all. God knows how I’m ever to get it off should they ever need to 😬 the strength, quality and all around holding power is immense! I cannot believe how quick it was to grab hold and not let go! Highly recommended. Just remember…… "with great power comes great responsibility"…… I would definitely use with caution, in a good way
N**S
No aguanto ni 1 día
Las compre por los comentarios tan buenos que tenía y fue una total decepción, no han aguantado ni 1 día en exterior
P**I
Come da descrizione
Soddisfatto del prodotto.
J**A
Not worth it
Didn't work good
S**A
Dessus
Ne colle pas dit tous lache apres 10 min.
L**K
Not so great
Wouldn’t hold a tiny towel rack and gen I needed to remove the back of the rack it took the paint with it.
Trustpilot
1 week ago
1 month ago