


Transform Your Woodwork with Ease! ✨
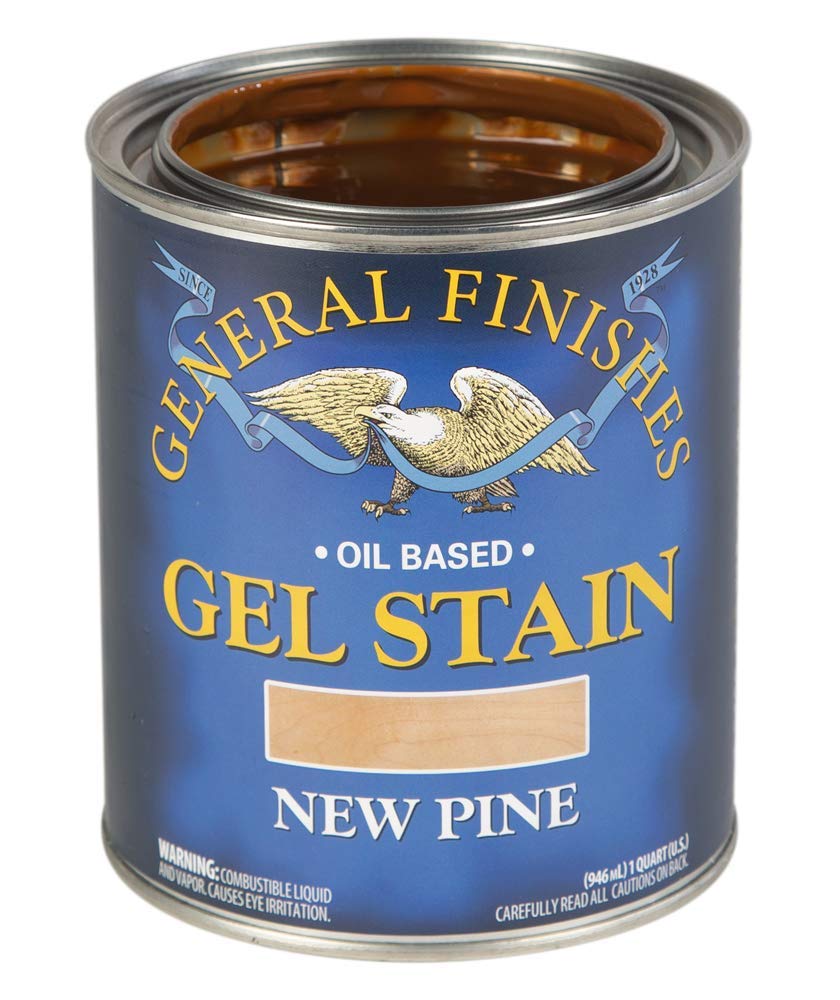
General Finishes Oil Base Gel Stain in New Pine is a heavy-bodied stain designed for a superior finishing feel. It provides an even appearance on challenging woods and is easy to apply, making it a favorite among woodworkers and DIY enthusiasts alike.
B**E
I should have bought the Antique Walnut stain years ago! Step by step instructions.
Buy this gel stain! We have light, builders grade banisters in our house that I have hated since the day we moved in and match nothing else in the house. I really wanted to refinish them but I was scared to wreck them. Well, after reading 4 million reviews, videos from everyone I could find, endless pictures comparing colors, I went for it and I couldn’t be happier. I ended up only needing 1 coat of the Antique Walnut and a few touch up areas. Here is exactly what I did. Prep work is key. Don’t skimp here.1. I cleaned the banisters with Krud kutter ( not the deglosser) and a green scotch bright pad and wiped clean. 2. Clean with a green scotch bright pad and and a good amount of Dawn soap and water. 3. Give a medium scrub down with mixture of 50 denatured alcohol and 50 water with yet another scotch bright pad. Let dry 2 hours. 4. Give a light sanding with a 220 grit sanding pad ( or 400 sheets I believe it what the company said). I used the 220 klingspor flexible sanding pad they recommended in one of the company videos. They are great! One pack was more then enough for the entire banister. 5. Vacuum up the dust really well. 6. Wipe with a damp cloth to remove more dust. 7. Wipe with an oil free tack cloth. I only needed one. 8. Tape everything off with green frog tape and use drop cloths. 9. Start staining! When staining I used these items. A paint cup, foam paint brush, short handled stain grade paint brush ( don’t cheap out), 2- 1” chip brush, extra paint brush, several terry cloth rags, odor free mineral spirits, a plastic cup, gloves, and a cardboard box to sit everything in as I worked.1. Stir the gel stain well and pour some in the paint cup. Pour and inch or two of mineral spirits in your plastic cup. Put all your supplies in your box and you are ready to go!2. Dip your rag in the mineral spirits and lightly wipe down the section you are going to work on. This is key! It allows you more time to work and blend. I worked in about 8-10” sections at a time. Try to find natural divisions as blending sections is the hardest part. By the time I got to the second railing I had realized that I could do the side first, then the top and it was easier to blend rather then all the way around the rail before moving on. 3. Dip the foam brush in the gel stain and brush on the wood. Don’t go crazy but use enough that it’s a solid color. 4. Give it just a few seconds then use the short handled stain brush to brush through the gel and start removing some color. Have your rag in your other hand with just a little mineral spirits on it. Dab your brush on the rag to remove the excess stain. 5. Use the chip brush to remove stain in groves and along edges. The chip brush in particular will make it look super streaky. Don’t panic! 6. Keep using your stain brush and the chip brush until quite a bit has been removed and you are sure you have destroyed it because it’s so streaky. 7. Take the extra paint brush, which you use dry, and start very gently brushing over everything. This will blend it all together. You should have removed enough product that you can still see the grain of the wood. It’s stain not paint after all. 8. When you are happy with it move on and wipe the next section with the mineral spirits rag and continue. 9. Let dry 24hrs. At that point you can very carefully touch up any areas that are too light. Give a wipe with mineral spirits, dap on a touch of color with the foam brush and blend. 10. Let dry and then seal with a top coat. I haven’t done this yet, as it’s still drying, but plan to use Arm R Seal semi gloss.Tips: -if you totally mess up a section you are working on you can remove all the product with a mineral spirit rag and start again. You will NOT be able to do this later or tomorrow so do it immediately if you aren’t happy. -If you work in too large of a section and the gel starts to dry or it’s too thick you can dip your extra chip brush in mineral spirits and gently brush over that area to remove some.- If you can’t finish in one day be sure to stop at a natural division line. You will not be able to remove the stain tomorrow or get it to blend in perfectly. I left some on one newel post and then when I started the next day I couldn’t get it off so that area is darker and is what it is.-Do NOT go back to a section you did earlier. You will mess it up!!! Wait until tomorrow to fix it.
L**.
End result lived up to the hype, but it's a lot of work!
I've been entertaining the idea of gel staining my cabinets for a long time, however I never thought it would come to fruition until we decided to change out our kitchen countertops, floors, backsplash. I was thinking on replacing the doors/drawers and just painting it white, however the budget was already creeping up with other expenses and I feel my existing doors would look better as a dark espresso moreso than white. I've read the reviews, read questions/concerns, viewed many tutorials, etc and decided to pull the trigger. I would say our kitchen is on the larger side that includes 25 doors, 15 drawers, u-shaped with a large island. Overall I am happy with the product, outcome and it lived up to the hype. I knew it would require a lot of time and work, but if I could go back I would probably just hire someone. The amount of time it took in total could have easily been paid off by a professional and more if I used what I feel my time is worth based on what I can do to supplement my source of income through other means. On top of that I did sections of it before our kitchen demo/install and after. Since I am away from home for work10-12 hrs per day M-F,I could not be as efficient as I would have liked. I have oak cabinets stained walnut that were about 10 years old.I took steps similiar to many others, but broke it down into 3 sections of the kitchen since it was too large to get down at once. Prep time was probably the most tedious part that included- 1) Empty cabinets, 2) clean cabinets (I used krud kutter), 3) sand cabinets (I tried various grits and found 220 grit to be perfect lightly by hand; if I could go back I would have used a sander), 4) vacuum/wipe down cabinets, 5) tape down areas as needed. Imagine doing this 3 times. I used the sock method (with two non latex gloves). I just bought cheap socks from target/walmart I believe. I also had a small brush and sponge brush. I would the small brush was a lifesaver for the small crevices and corners. I did 4 layers of the Java stain in total. I waited 48 hours first the first coat to dry and 24 hours for the rest. I was expecting some streakiness, but was a little concerned after seeing it on the 3rd coat. 4th coat was the key winner. I think part of that is not optimally preparing some of my surface areas; poteintially due to different amount of protective coating found in different areas of my kitchen. Also the area above my range was probably not cleaned as well as it should have been. I did all my doors/drawers in the garage and numbered each one. I did not sand inbetween coats. After the final coat the stain was beautiful. Even the floor, granite installers, contrator was impressed with the work. The satin gloss is very subtle. I was damn impressed.Then came the clear coating. I waited an entire week before applying it. I then very lightly sanded with highest grit sanding sponge I could find (I believe it was 220) and wiped the dust down. I used wipe on with rag/sock and sponge brush. I found all methods to work great. Very easy to go on and gives you a lot of wiggle room. I initially purchased the GF Gel Top Coat in Satin. http://www.amazon.com/GF-Gel-Topcoat-Satin-Quart/dp/B001F7R320. I did 3 coats on my island and a standalone cabinet and it came out great. It also whitstanded through the demo believe it or not. The satin sheen was similiar to the Java satin sheen and if anything you could see the grains of the oak cabinets a little more. I did not notice it enriching the color significant either. It kept it pretty consistent. I was very happy about the results, but I decided to try another product due to the high VOC content of the top coat (wife is pregnant and insist to use part of the kitchen). Since this was still 1/4 way through I had to be reasonable and ended up purchasing a non-VOC top coat off in satin from another website. This is when it all went downhill. I didn't realize what type of skill is needed to apply a top coat, until I purchased this. It made me realize how good the GF topcoat was. My cabinets looked horrible. I should have tested it out first. It was 10x more diffiucult to apply and my cabinets not only looked streaky, but their satin looked more like semi-gloss. It also darkened the cabinets noticably more compared to the original coating. I thought I ruined my kitchen. I decided to do more research and found that the most important coat is the last coat. I learned better technique and tools and redid a large portion of my kitchen. Luckily my new technique did wonders and I was able to coat it streak free and the sheen was also a lot less subtle for some reason. Possibly due to putting it on thinner and I made sure I mixed it very well. I did 3 coats total.The end result came out great despite the scare. I ended up using 2 quarts and still have a little left over. It took me about 6 weeks solo to do my large kitchen, working full-time and other priorities that I could not push back. Like I mentioned if I could go back I would have just hired someone, but that is only because I can supplement my income in a lot less time I spent doing this project to just hire someone. I think that there are so much variables to consider before just doing it so do your research, be patient and trial and error. Everyone's surfaces are different; different wood, coatings, dirt, details, etc. So understand the optimal way to prep for your actual surface. I also think technique and having the right tools plays a role especially if you have a more challenging surface such as a door with all types of crevices, details, corners, etc. Too me that was the most difficult part was because of those challenging areas of the door. So my two biggest tips would be good preperation for your project and learning the proper technique/tools to do the job. Oh yeah and patience too.
T**R
Easy to use!
This is the second time I've used General Finishes gel stain. If you've never used gel stain before, this is the way to go. Gel stain IMO is a cross between paint and stain - it is very easy to use if you prep correctly, take your time and follow the directions. You do not need to completely sand all finishing off your wood before using, although it helps to so a little bit of sanding to remove the sheen.I recommend watching the how-to video from General Finishes website. I followed this video for refinishing my kitchen cabinets (2-3 coats), and they look beautiful! I also did a couple coats of General Finishes High Performance (water-based) Topcoat (in satin) 72 hours after my final coat of stain. I allowed the topcoat to cure for 7 days before I added hardware and reattached.I've included a photo of my (oak) kitchen cabinets with the antique walnut stain and topcoat. Pardon the stove in the middle of my kitchen - my floors are also being replaced.I love the refinished look and would totally recommend General Finishes for your projects.
D**Y
Beautiful finish
I am refinishing some old kitchen cabinets. Sanding complete down was not an option and I did not want painted cabinets. This gel stain was a perfect solution. My dated honey oak is now a rich medium brown. I love the color. The finish is beautiful. It was easy to apply and gave striking results.
C**N
Love the color
I purchased the pine. I am so happy how my doors turned out. Would definitely buy again if needed.
B**H
Amazing product!
This stuff is magic in a can! I watched so many Youtube vid's & read so many articles - I decided to give it a whirl. It's scary at first - looks a bit nasty when applying, definitely panicked a little - but something magical happens during the drying process. Self levels nicely, still shows the grain of the wood - I'm painting it on fairly thick - 2 coats - 48-72 hours dry time in between at 70 degree house temperature. Try to eliminate any back brushing - once you apply - move on - you will cover any missed spots during 2nd coat. (windows open a little with vents on during application process). I'm just waiting for top coat to come in (Arm R seal satin is a little too shiny for me during testing) - I'm waiting for high performance top coat in Flat. Pictures are mid-project.
J**T
ABSOLUTELY THRILLED!
I had never used ‘General’ Gel Stain before, so after reading the Instructions, decided to give it a try. Key points to remember: stir well before using and intermittently if the project takes a while. Also allow enough time for each Coat to dry, I waited at least 24 hours. I used a small paint brush for the edging and details, and foam applicators for larger areas.The Results are Amazing!! I Love the Georgian Cherry - it is dark, but with a beautiful Cherry Tint that has a Satin Finish! I did 2 Chairs that have the table in between, so of course I just had to do the table as well. I am Thrilled with the Results!
A**R
Fast delivery and totally worth the money
Its looks great and even though it's a small can I got alot of use out of it didn't take much to stain with and it cleans right off the brush no problem even for a black stain
J**E
Colour is dark and rich
Bought to transform my bathroom vanity and it turned out good for the first bathroom.Will I try to do this again? Answer is No!Lost count of how many coats I applied cos each time I try to apply, it scrapes some of the previous application, and yes I waited 24 hrs between coats but had to keep touching up some scratches. The finished work looks good, but no worth the stress for me to be honest.I’ll do the second vanity and that’s it. I had plans to do kitchen at some point but No I will not be. If you are not the most patient person, use of this product might not be for you.That said, seems a great product.Caution, the Java is really dark and might be too heavy for say a kitchen.
D**O
This is a great stain, giving this 5 starts but would give more if there was such an option.
This is a great stain, giving this 5 starts but would give more if there was such an option. But let me explain myself.....The huge Pro is that you don't have to sand your surface so it can be easily applied to any wood or even to a cheap kinda paper-ish surface used on a cheap furniture although the result on the former one will not be as great as on a wood surface. I've used it to paint (stain) my staircase and the result is just amazing. You sure know those yellow oak old fashioned staircases, right? With this stain I was able to completely transform the look of my staircase in about a week and for the fracture of the cost of hiring a contractor. It looked so great that I've ordered more stain and painted cabinets in two washrooms and the result was just fantastic. There are not miracles though, you just have to be very patient when you apply this stain (ask almighty Google for videos and written reviews) and chose the right way to do your job. It obviously looks great on oak which has very pronounced wood grains, didn't look so great on a kitchen table made of beechwood though. Make sure to apply a gel top coat as well and you'll be absolutely blown away by the result you get. I've used General Finishes satin gel top coat for my projects.
Trustpilot
4 days ago
2 weeks ago