


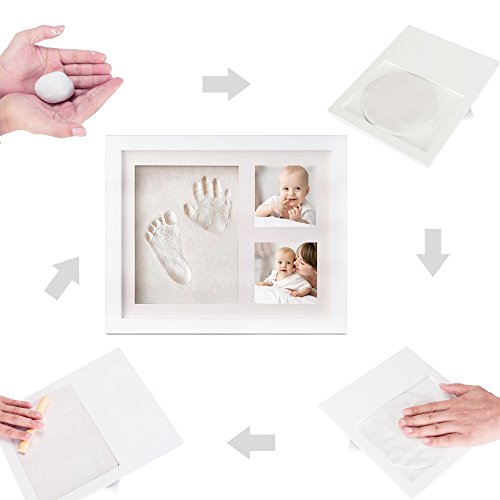
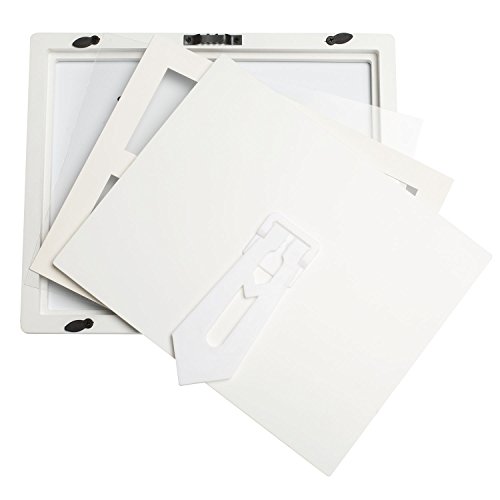
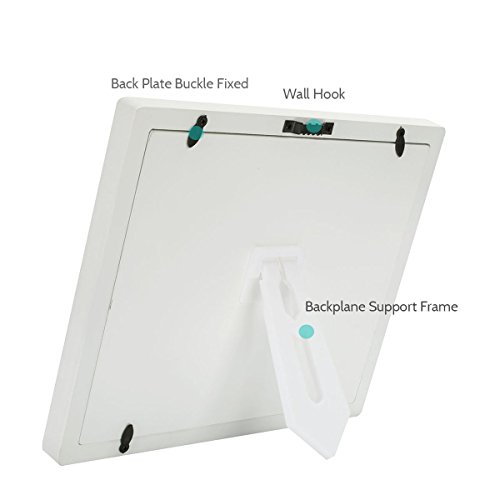
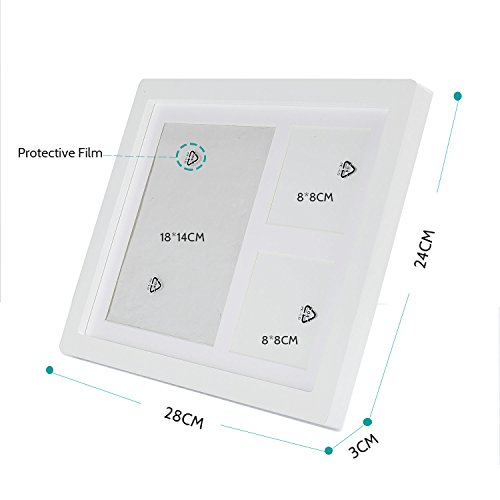
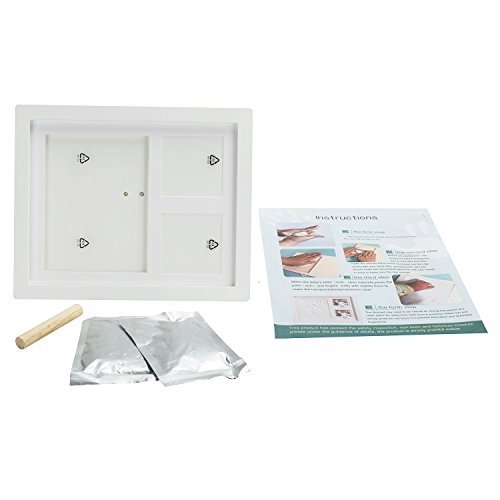
Making You Baby Keepsake Fun and Easy. Step 1 Open the clay sachets and place clay on a clean and flat woking bench. Step 2 Knead the clay for about 2 minutes until soft. Step 3 Insert the clay into the large section of the frame, and use rolling pin to spread clay out to the edges,Tip: Roll the clay withe rolling pin GENTLY as the clay is very soft. Step 4 Use a mug to GENTLY roll across the clay to smooth the surface, ensuring there are no lines, cracks or bubbles in the clay. The clay should now be completely smooth, flush and filled to the comers of the frame. Remove the excess clay on the edges. Step 5 Apply a small amount of baby skin cream on to babies' hand and foot. Press their hand and foot gently in the clay untill you achieve your desired results. If you are unsatisfied with the print, take the clay out of the frame and repeat above steps. Step 6 Leave the clay in frame open- DO NOT COVER- and dry it in the shade of the nature- DO NOT PUT IT UNDER THE SUN, A WOKING FAN OR AIR-CONDITION. TIP: The clay must be fully dried before assembing the rest of the frame as excess moistrue can lead to go mouldy. Step 7 Prepare to two 8*8cm photos to put on the photo areas of the frame, and stick them to the frame backing with double-sided tape. Step 8 Remove the protective film on the front and back of acrylic glass cover. Step 9 Place the acrylic glass on the top of the white frame sihouette and fix the frame together. Step 10 Tighten the crews if necessary on the back of the frame. Attention please: Children please under the guidance of adults, the product is strictly prohibit edible.
Trustpilot
1 day ago
2 months ago
