Desertcart purchases this item on your behalf and handles shipping, customs, and support to Israel.
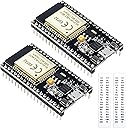
🚀 Unlock next-level IoT innovation with the ESP32 OLED WiFi Kit — where speed meets style!
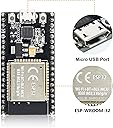
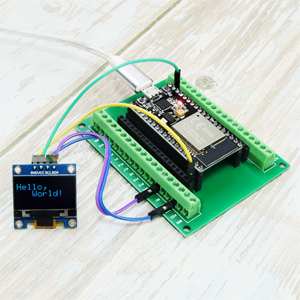
The KeeYees ESP32 OLED WiFi Kit is a compact, dual-core 240 MHz microcontroller development board featuring a 0.96-inch OLED display, integrated 2.4 GHz WiFi and Bluetooth connectivity, and 38 pins for versatile prototyping. Pre-soldered and compatible with Arduino and Lua, it offers a reliable, scalable platform ideal for DIY enthusiasts and professionals aiming to build cutting-edge IoT and wireless projects.


| ASIN | B07QCP2451 |
| Brand | KeeYees |
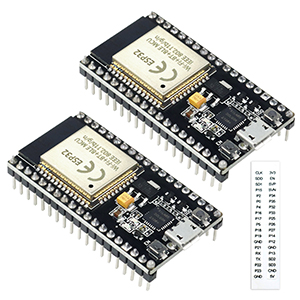
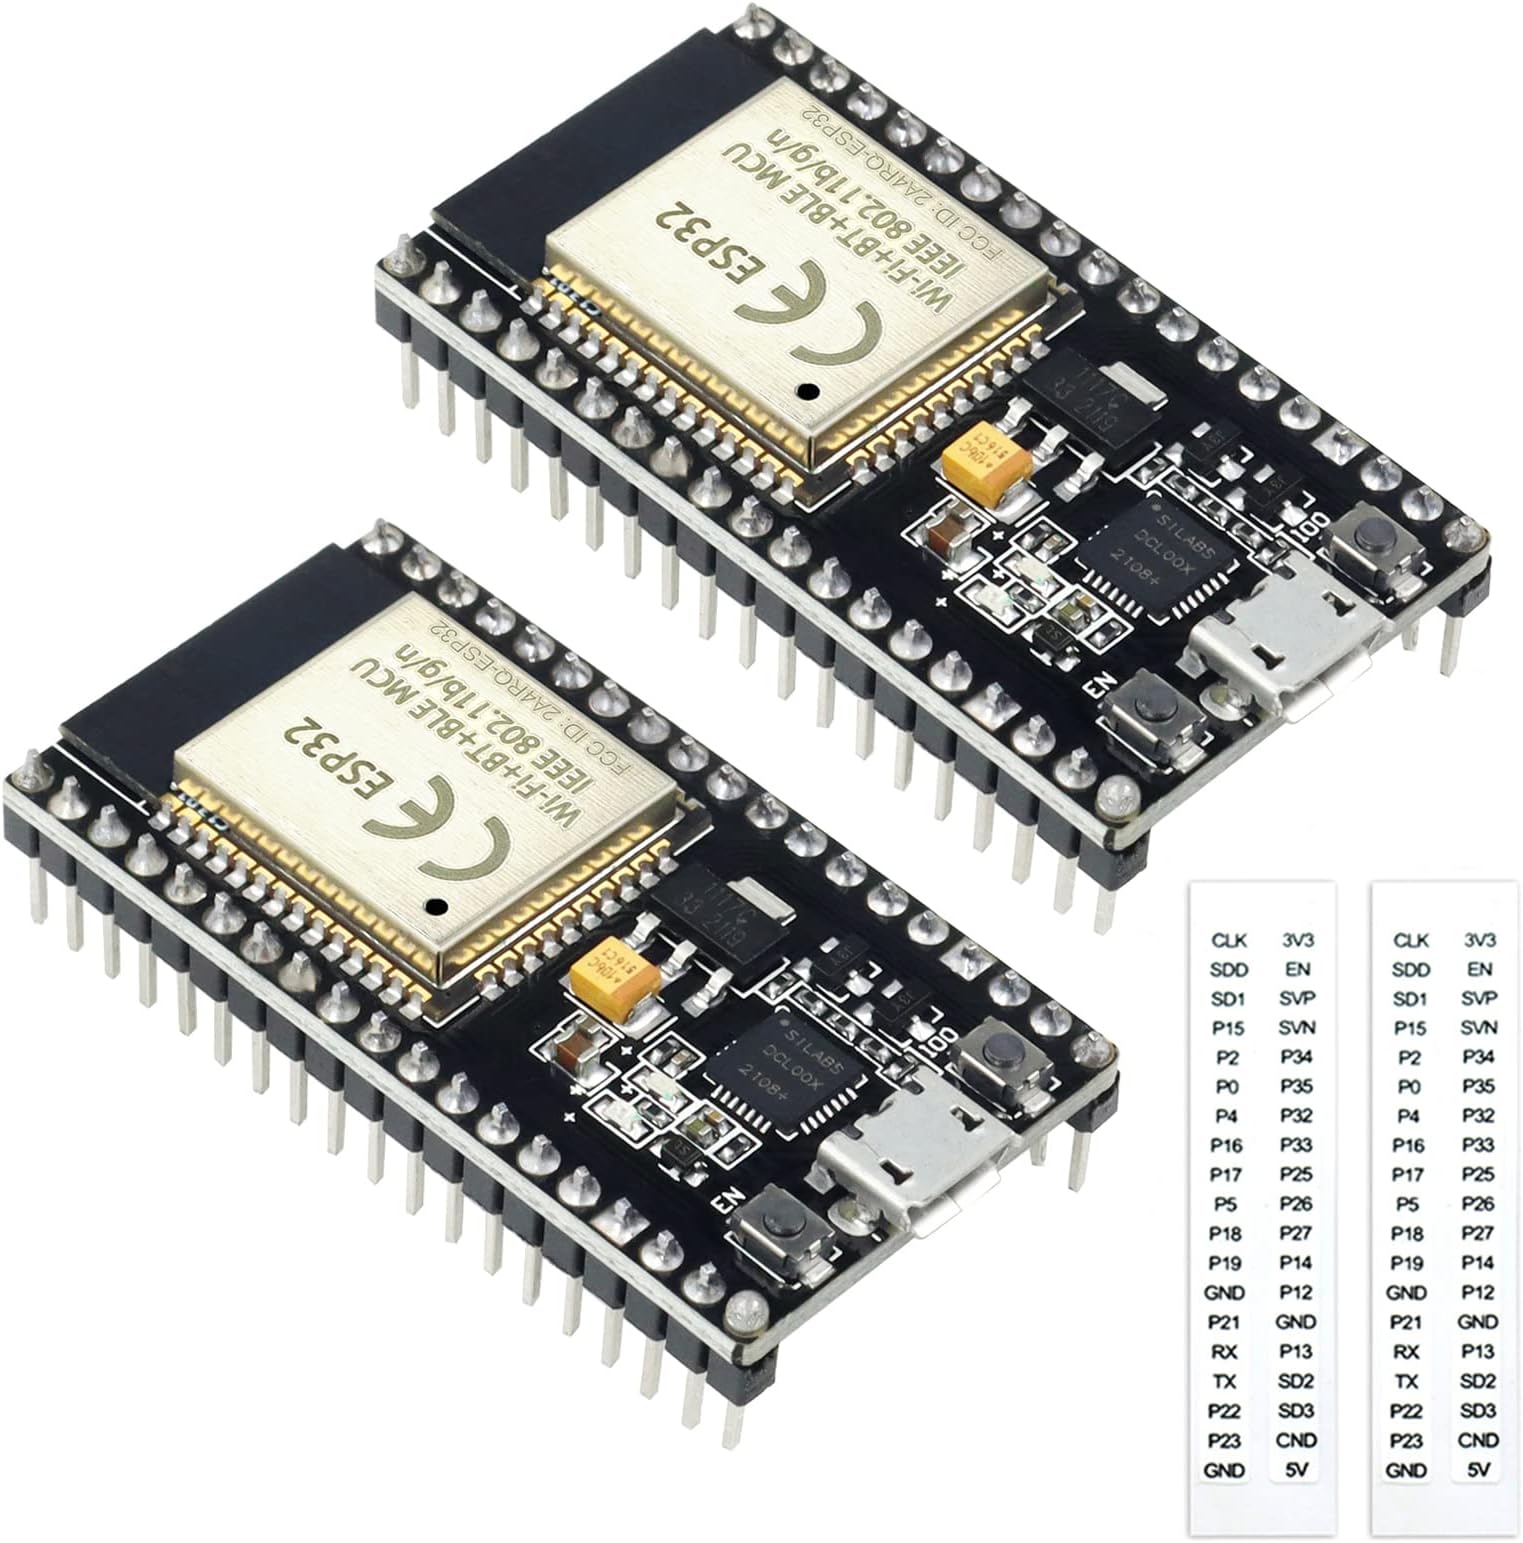
| Built-In Media | 2 x KeeYees ESP32S ESP32 Development Boards |
| CPU speed | 2.4 GHz |
| Compatible Devices | Personal Computer, Camera, Smartphone, Arduino Boards, Game Consoles |
| Connectivity Technology | Bluetooth, Wi-Fi |
| Connectivity technology | Bluetooth, Wi-Fi |
| Customer Reviews | 4.4 out of 5 stars 811 Reviews |
| External Testing Certification | Não aplicável |
| Installed RAM memory size | 512 KB |
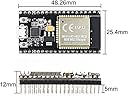
| Item Dimensions L x W x H | 48L x 25W x 12H millimeters |
| Manufacturer | KeeYees |
| Memory Storage Capacity | 512 KB |
| Memory storage capacity | 512 KB |
| Model Name | ESP32S |
| Model name | ESP32S |
| Operating System | FreeRTOS |
| Processor Brand | Espressif |
| Processor Count | 2 |
| Processor Speed | 2.4 GHz |
| RAM Memory Installed | 512 KB |
| RAM Memory Technology | SRAM |
| Total Usb Ports | 1 |
| UPC | 713871269840 |
| Wireless Compability | 802.11bgn |
V**O
Great for DIY Projects and Microcontroller Beginners
These boards were how I first learned to use microcontrollers for DIY projects! intuitive to use, has a plethora of pins, and are cheap enough to just buy more if you fry them or need more of them. Also, the ESPNOW communication built into the boards has a very short latency and has been easy to set up between two boards in my experience, which was a big help for some of my wireless projects.
B**L
These work nicely, but can get very warm with WiFi use.
I only started using ESP32 a few months ago, coming from an Arduino background. I have to say, I love these boards! They are much faster than any Arduino, have dual cores which are easy to use and having Bluetooth and WiFi (transceiver radios) makes them easy to use. With Arduino, I was using nRF24L wireless boards and found them glitchy and the libraries not as stable as one might like. I pretty much gave up on them because one day, communications were perfect, then all of a sudden, without any logical reason, comms would just stop or get glitchy. I moved to the ESP32 and found that configuring communications (either using WiFi to the router or using peer-to-peer) was so easy and STABLE! Configuring the radios is so simple and you don't need a lot of code to do so. The only downside I see with this particular brand, is that when using the radios, the chip can get pretty hot. These manufacturers should offer a heat sink for the chip. When being enclosed in a case, this could be a problem, so adding a heat sink and MAYBE a tiny fan might be a good idea. All in all I do recommend these. I did end up buying more and intend to buy more yet.
W**T
Just received my first 2 units and both work great
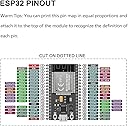
I just received my first two this afternoon, and uploaded several sketches to both. They work just fine. I like the little sticky tapes with the pin names on them. A few tips: 1) For those that complain about pressing the right-hand button to start an upload in the Arduino UI, this is very common, not a quirk in these particular boards. Not a big deal, really. Watch your sketch compile, then when it starts to upload, press the right-hand "boot" button for a few seconds. In my case, I hold the button until I see upload progress start, then let go. Nothing to it. 2) The on-board blue LED is connected to D2, by the way. Try the "blink" sketch first, and just change the default pin name or number to 2 instead of whatever the sketch default is. 3) When deciding what flavor of ESP32 board to select in the Arduino UI, I just use the generic "ESP32 Dev Module" and everything works fine for me. I have several other ESP32 modules, like the WROOM, and they all work with the Dev Module selection for me. Easy. 4) I also tried the very simple Wi-Fi server that can flash the on-board LED (no external connections needed) by going to Examples/WiFi/SimpleWiFiServer. Change the default pin 5 to pin 2 in several places, and then put in your home Wi-Fi SSID and your password. Enable the serial monitor for 115200 bps, and upload it. Once it connects, the ESP32 will tell you what its IP address is. Enter that IP address (like 192.168.1.123) in your phone or computer web browser, and you'll get a simple page coming from your ESP32 (which is now an HTTP server). The page tells you something like "click here to turn LED D2 on" (assuming you edited your sketch so that it says "D2" instead of D5) and a similar line to turn the LED off. Nothing to it, and you did this with zero hardware! 5) My modules did not have any labeling or silkscreen on them, but the included sticky labels are just fine. I stuck one set on the bottom of one module, and on the connector edge of the other. They are sticky enough that I'm not worried about them falling off. I really like these units, and will definitely buy more! I also bought a pair of the KeeYees breakout boards with screw terminals, and they perfectly match the pinout of these 38pin modules.
B**N
my favorite brand, KeeYees #1
These just work. easy to program, come with pins pre soldered for easy wiring. I have been able to power small projects with only using the USB port for power. They seem to be protected well cause even with hot swapping, shorting out or reverse polarity they just reboot and keep on truckin.
A**N
Onboard capacitor isn't big enough, suffers from brownouts in some situations
The onboard capacitor across EN isn't big enough. This means that in some situations, with certain things hooked up to certain pins, you will not be able to flash the chip from your PC without pressing the boot button. When the chip is brand new you can flash without any button press, but sometimes you can't. Similarly, if you hook up too many devices that try to draw too much current, again the capacitor on this dev board isn't big enough to handle spikes, and you will get Brownout Detector error messages on the serial and bootloops. I got this just from simply having a TFT backlight connected and trying to connect to wifi. You can fix this by installing a bigger capacitor yourself, even off-board, or using a stronger USB power supply, but these dev boards really struggle with weak USB ports like those on a PC or laptop. The 38 pin narrow layout is nice, gets you more room on your breadboard than traditional WROOM modules (this chip doesn't say WROOM on it though). And more pins than usual, although some of them aren't even usable or necessary (IE pins only for flashing direct to memory yourself, not GPIO). However there are no pin labels on the top, they come on sticky papers that you have to peel off and apply yourself, only the bottom of the board has pin labels, which obviously are not visible when installed on a breadboard. Good price, decent boards, convenient layout, but sometimes minor power problems in some projects. Fixable, but annoying.
Trustpilot
2 weeks ago
1 month ago