Buy anything from 5,000+ international stores. One checkout price. No surprise fees. Join 2M+ shoppers on Desertcart.
Desertcart purchases this item on your behalf and handles shipping, customs, and support to Israel.
🔋 Stay charged, stay connected — never miss a beat on the road!
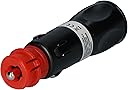
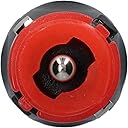
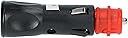
The CARPOINT 0523413 Cigarette Lighter Adapter is a compact, lightweight replacement plug designed to fit standard cigarette lighter sockets. It supports up to 8 Amps of current and complies with DIN ISO 4165 standards, ensuring safe and reliable power delivery for your in-car devices.


| AC adapter current | 8 Amps |
| ASIN | B003ZW0PR8 |
| Best Sellers Rank | 2,502 in Automotive ( See Top 100 in Automotive ) 250 in Car Cigarette Lighter |
| Brand | Carpoint |
| Colour | black |
| Country Of Origin | United Kingdom |
| Current Rating | 8 Amps |
| Customer Reviews | 3.6 out of 5 stars 2,364 Reviews |
| Item Dimensions | 8.3 x 2.5 x 2.5 centimetres |
| Item Type Name | Carpoint Cigarette lighter plug 6-24V 8A |
| Item Weight | 0.02 Kilograms |
| Item dimensions L x W x H | 8.3 x 2.5 x 2.5 centimetres |
| Manufacturer | Service Best International |
| Manufacturer Part Number | CPT0523413 |
| Material | Glass |
| Maximum Current | 8 Amps |
| Model Number | 0523413 |
| Mounting Type | Floor Mount |
| Specification Met | ISO 4165 |
| Specification met | ISO 4165 |
| Unit Count | 1.0 count |
| Voltage | 24 Volts |
S**R
Difficult to separate, but works well. Be sure to make your connections carefully!
No instructions with this so here are mine....Unscrew the silver end piece and pull off the remaining metal ring. The fuse, connector and tensioning spring will come out. Then use long nose pliers inserted in the other end to prise apart (take care not to damage the rubber) but have a helper to cup their hands around, ready to catch the two halves and remaining side connectors/springs, as they will fly across the room otherwise! After this prepare your + and - wires to different lengths as in the photo and solder. Don't forget to slide the spring over the wire so it is retained on the + connector. As long as you have enough insulation on the conducting flex's as shown you should be good to go. Be careful not to cross-thread the end piece on the way back in. Good value for £1.99 delivered I thought.
A**N
This is the worst purchase I have ever made on Amazon - I'd like to get my money back!
I purchased three of these plugs. Two of them wouldn't open for wiring. The third I had to prize open much against my instinct. When it did come apart, there were no useable terminals with which to wire it up and the spring-loaded centre terminal just flopped about and could not be held against its spring loading. For the other pole, there was no ready way to make a connection. I had wanted this plug to repair my 12 volt electric pump and it is obvious that a reliable connection is vital because the pump would be safeguard against breakdowns. I was absolutely furious and what put the lid on it was that the items came with no instructions whatsoever. This habit of passing off poor quality rubbish on Amazon has got to stop. When you think of a van making an urgent journey to deliver these as a "next day Prime" provision, it makes a mockery of the energy crisis. Looking through Amazon's selection of such 12v plugs, it is impossible to find one with proper construction, ie screwed together and using screw terminals.
P**M
DO NOT BUY IF YOU DONT KNOW HOW TO SOLDER
The other reviews are spot on..... You have to be proficient soldering to make the connections, it's very tricky to open and even more fiddly to put back together....you need the patience and dexterity of a Swiss watch maker....seriously if you want a quick fix this is not the product for you! That said once I overcame the challenges the end result was good. The plug quality is good. I used it on a small the compressor andi worked fine.
M**H
Fiddly to connect.
Ok but fiddly to connect. Sadly no cable grip to prevent misuse when removing from a socket.
J**S
Cheap and cheerful.
Hard to get apart, prize open with a screwdriver and you need to solder the connections. No instructions. No amperage rating, it was only 10 amps, blew fuse on first use, I needed 15 amps for an air compressor.
A**N
Can't complain at this price
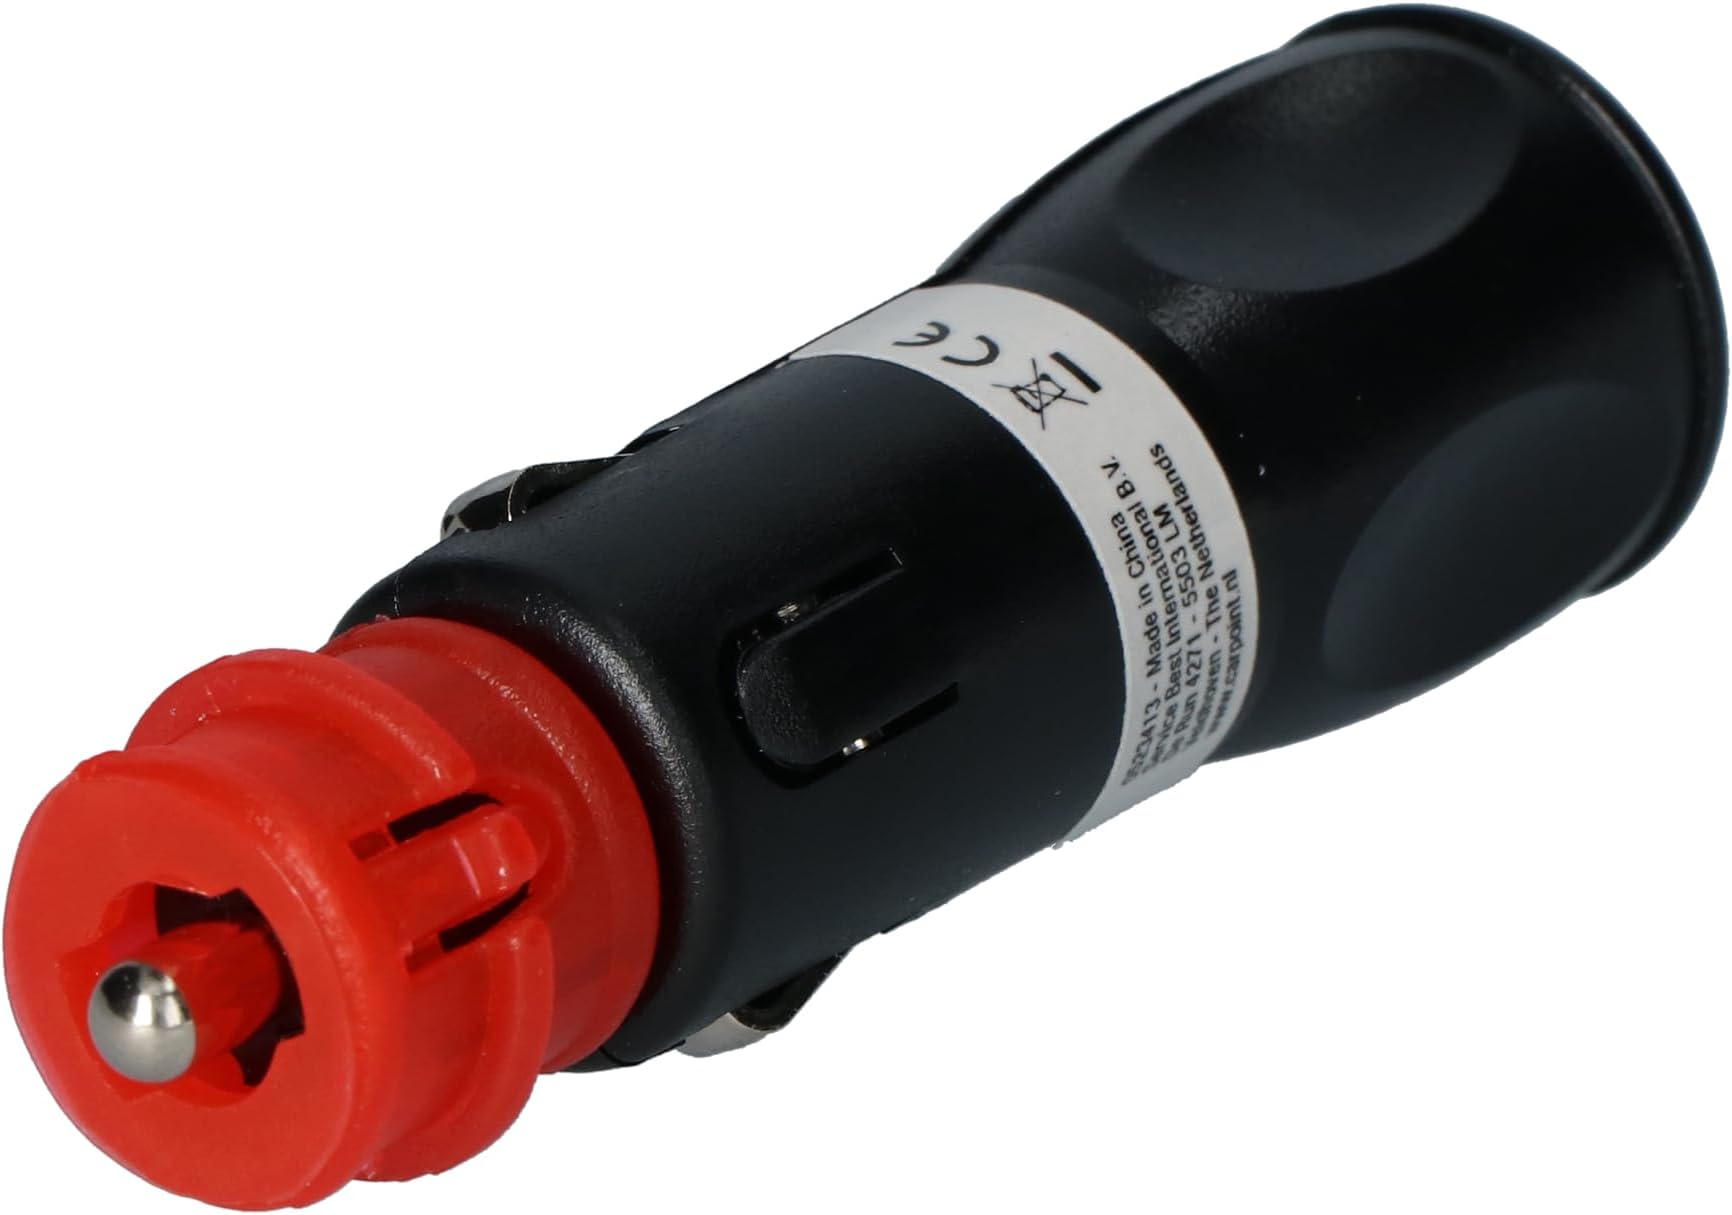
I needed to replace the plug on my compressor as it broke, initially I struggled to open it, as it was not very clear, so I've done this tutorial to help, pictures attached are following this detail:- To take this apart, do the following in reverse order. Unlike many plugs, this ones wires are the same fixing length as each other (my one did at least), I didn’t spot this until I was putting it together, and I wasn’t going to mess about for the sake of a small excess of cable that could sit inside if you ask it nicely lol, the Side A is marked on purpose, it is the half with the deepest slot (the red circle) which helps with holding the Spring, as the soldered wire goes on the bottom end, and the spring sitting against the other side of it. Points to help, if you don’t do 1 and 2 in the order shown, you will not get them on and will have to start over, and when you undo the screw thread place it face side down on the side, so the threaded part is in the air, then place the Tip into it rounded end first, this way at the end it should fall into the hole as you pick it up saving you a juggling act. • Feed cable through 1 (the rubber end) first. • Next Feed 2 (the Spring) down the Live Wire, then Solder the wire to the bottom of the Leg. • Solder side bar to the Neutral Wire, Keep the solder away from the outer edge or it will stop the 2 halves from closing. • Now start to put the bits back together using Side A to locate the parts, place the thick part of the rubber sleeve into 1.2 (1.1 will sit on the other half as you close it up). • Insert 3 (the side bar) into the outer edge, if you can’t get it to sit in properly, you’ve probably got too much solder on the outer side\edge, reduce this excess if needed until you can insert it fully. • Slide 2 (the Spring) up to the furthest end from the wire and insert the bottom part of the bar into the slot shown by the red circle, you will need to hold the spring up to do this, once the bar is in the slot you can gently release the Spring that will open up to the top part of the case. • Now place the other half of the case on top of Side A, you may have to take a couple of try’s to get it right, once together, do Not let go, or you will need to repeat this step again if it comes apart. • Next take the Collar, and place it over the Neck, it just sits on. • Insert the Fuse in through the Collar, it won’t go in fully as the Spring will resist this until you take the last step. • Still holding the plug together, with the Tip Inserted into 4 (the screw fixing), place this with the Fuse going into it, and screw it into place, don’t use too much force it’s only plastic, you will feel initial resistance from the Spring again, but as you screw it home it all falls into place. Job done, all going well you can plug it in and use it, the only downside with this is the rubber insert that is to help stop the cable breaking by offering resistance to the flexibility of the wire is pretty weak, but at the price you can’t expect too much, so just an observation.
"**"
Did the job perfectly.
I trapped old plug in my car door so brought one of these to replace it. Yes it was a bit difficult to take apart. Just unscrew metal ring and used a thin blade screwdriver to take apart. Bargain price so I'm very pleased. Thanks.
S**G
This thing is utter rubbish
This is utter garbage and is a ridiculous design that makes every step almost impossible. From opening it up which invariably makes a mess of the outside cover, to trying to solder the connections which then makes the spring return practically inoperable unless using the thinnest lightest wire imaginable. Terrible design stay well clear, pay cheap bay twice.
S**5
Soddisfatto
Oggetto come descrizione.
J**A
Conector correcto y duradero
Utilizado para sustituir otro fundido por calor en una nevera portátil del 12 v. Buen material, conexión al cable por soldadura. No tiene esquema de montaje, por lo que hay que apuntar cuando se desmonta como van las piezas para montar después. Incluye fusible.
M**2
Pas évident
Quelques difficultés à ouvrir sans mode d'emploi.
R**L
Top
Top
L**E
Bon rapport qualité prix
Produit utilisé pour le remplacement prise de chargeur booster Mise en œuvre facile, seul problème être équipé d'un fer de soudage étain
Trustpilot
3 weeks ago
3 weeks ago