معلومات عنا
دعم العملاء
احصل على التطبيق

قم بتوجيه الكاميرا لتنزيل التطبيق
حقوق الطبع والنشر © 2024 Desertcart Holdings Limited


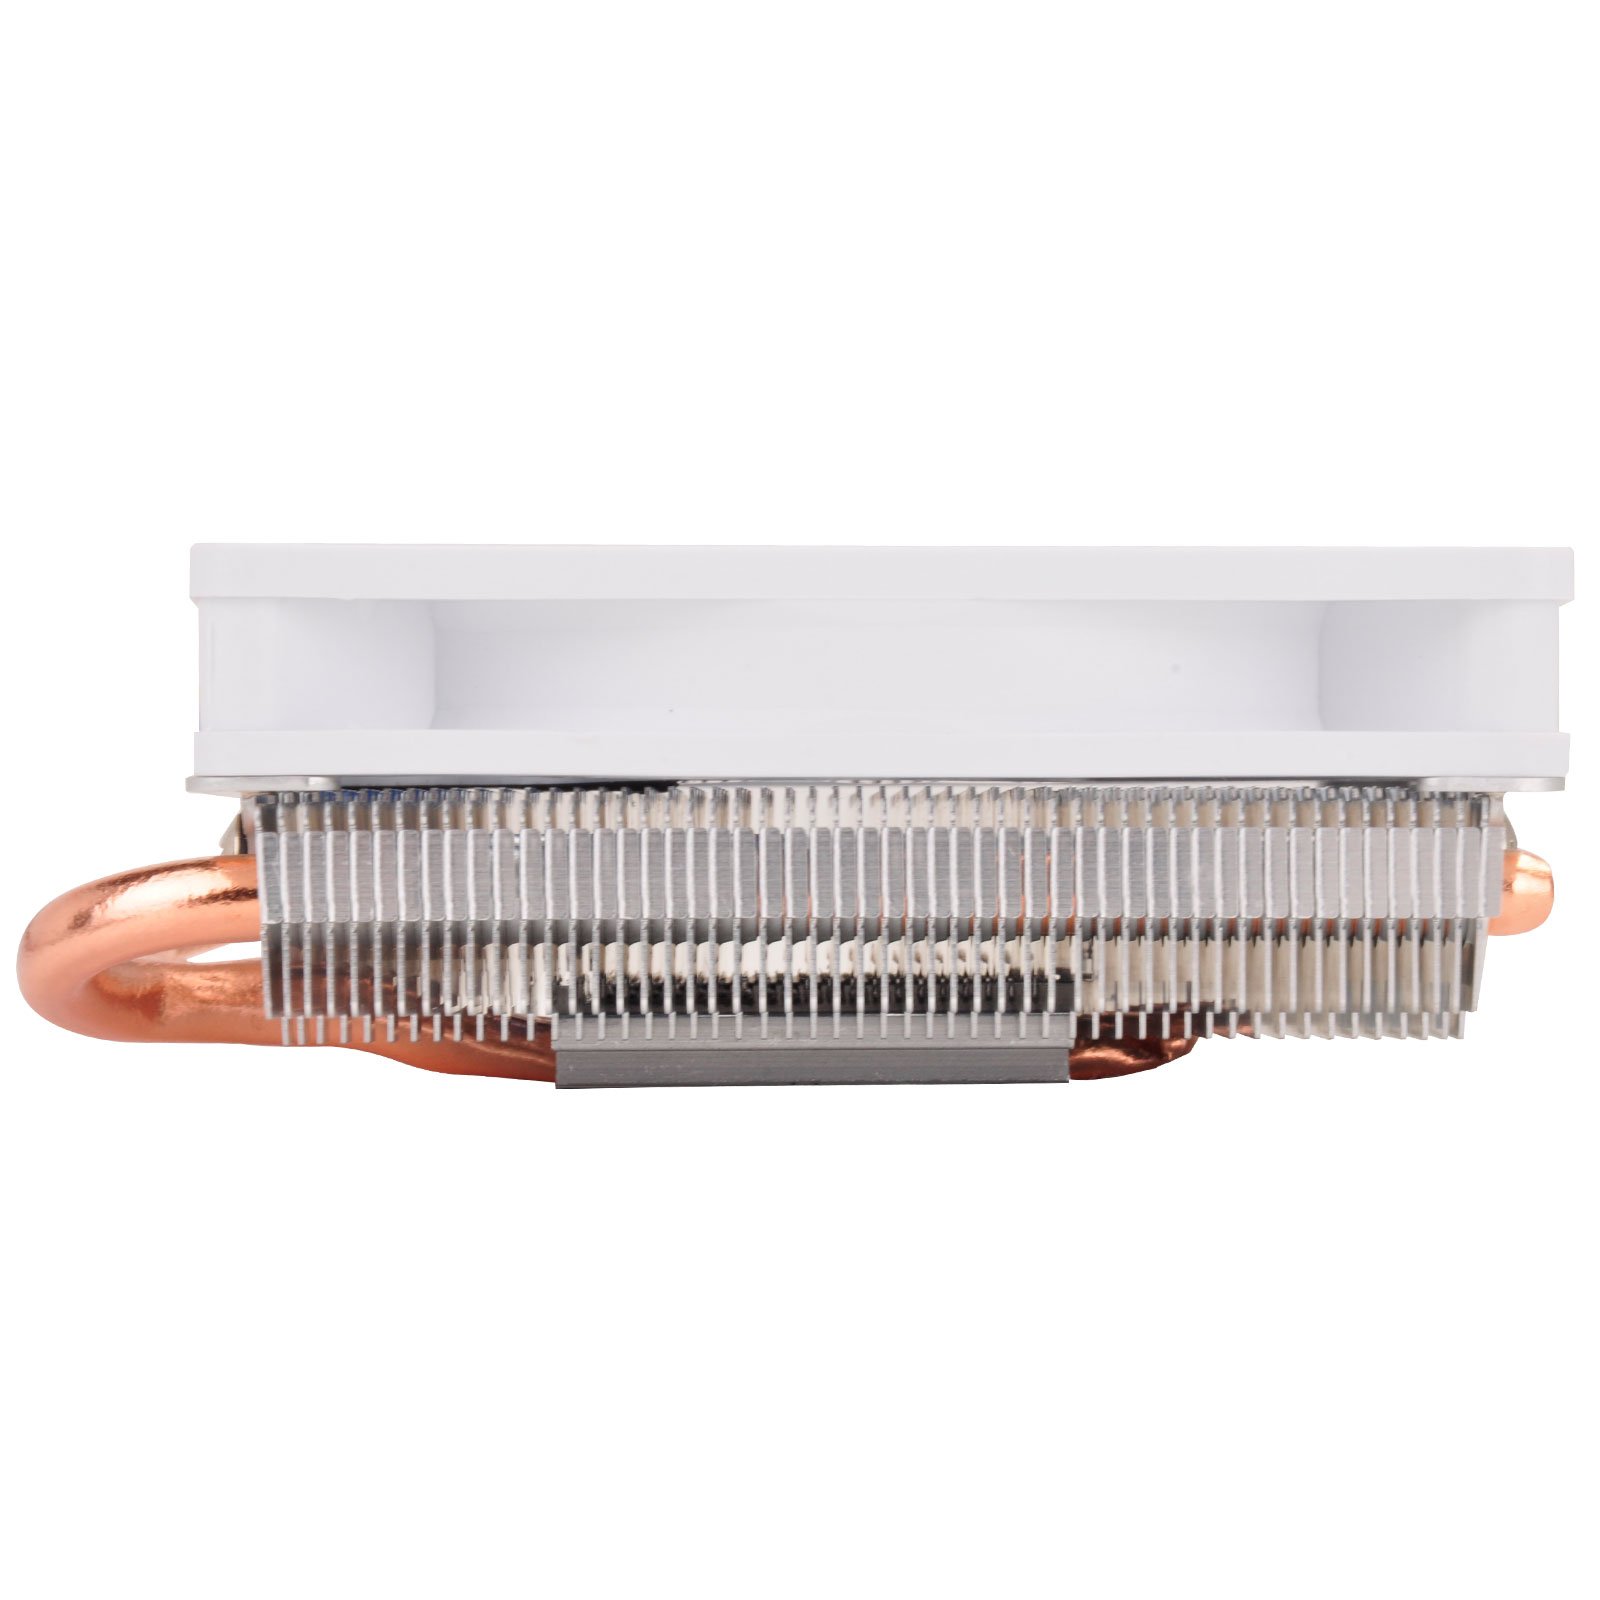


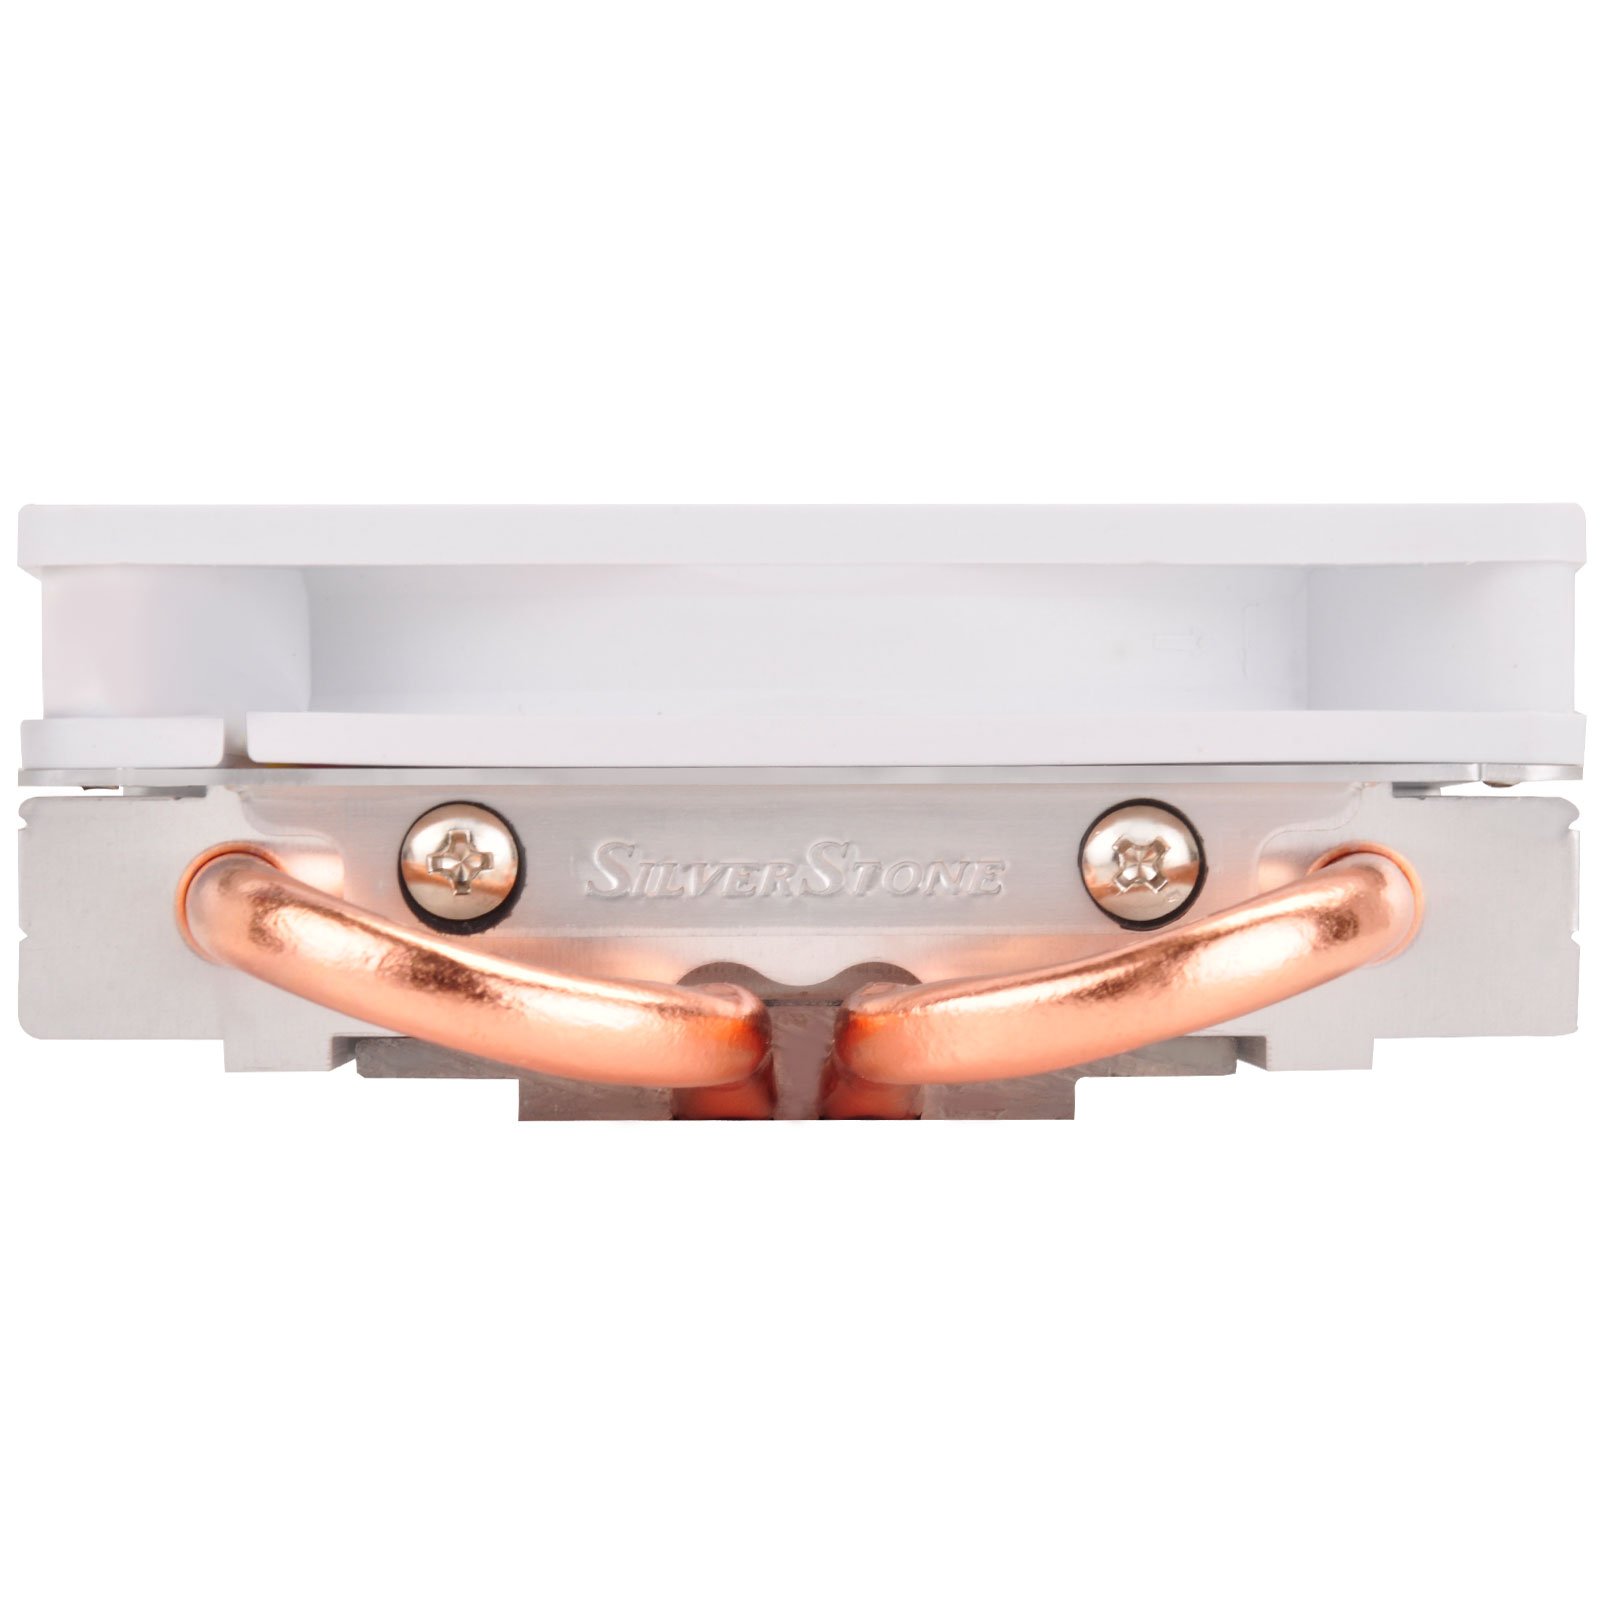


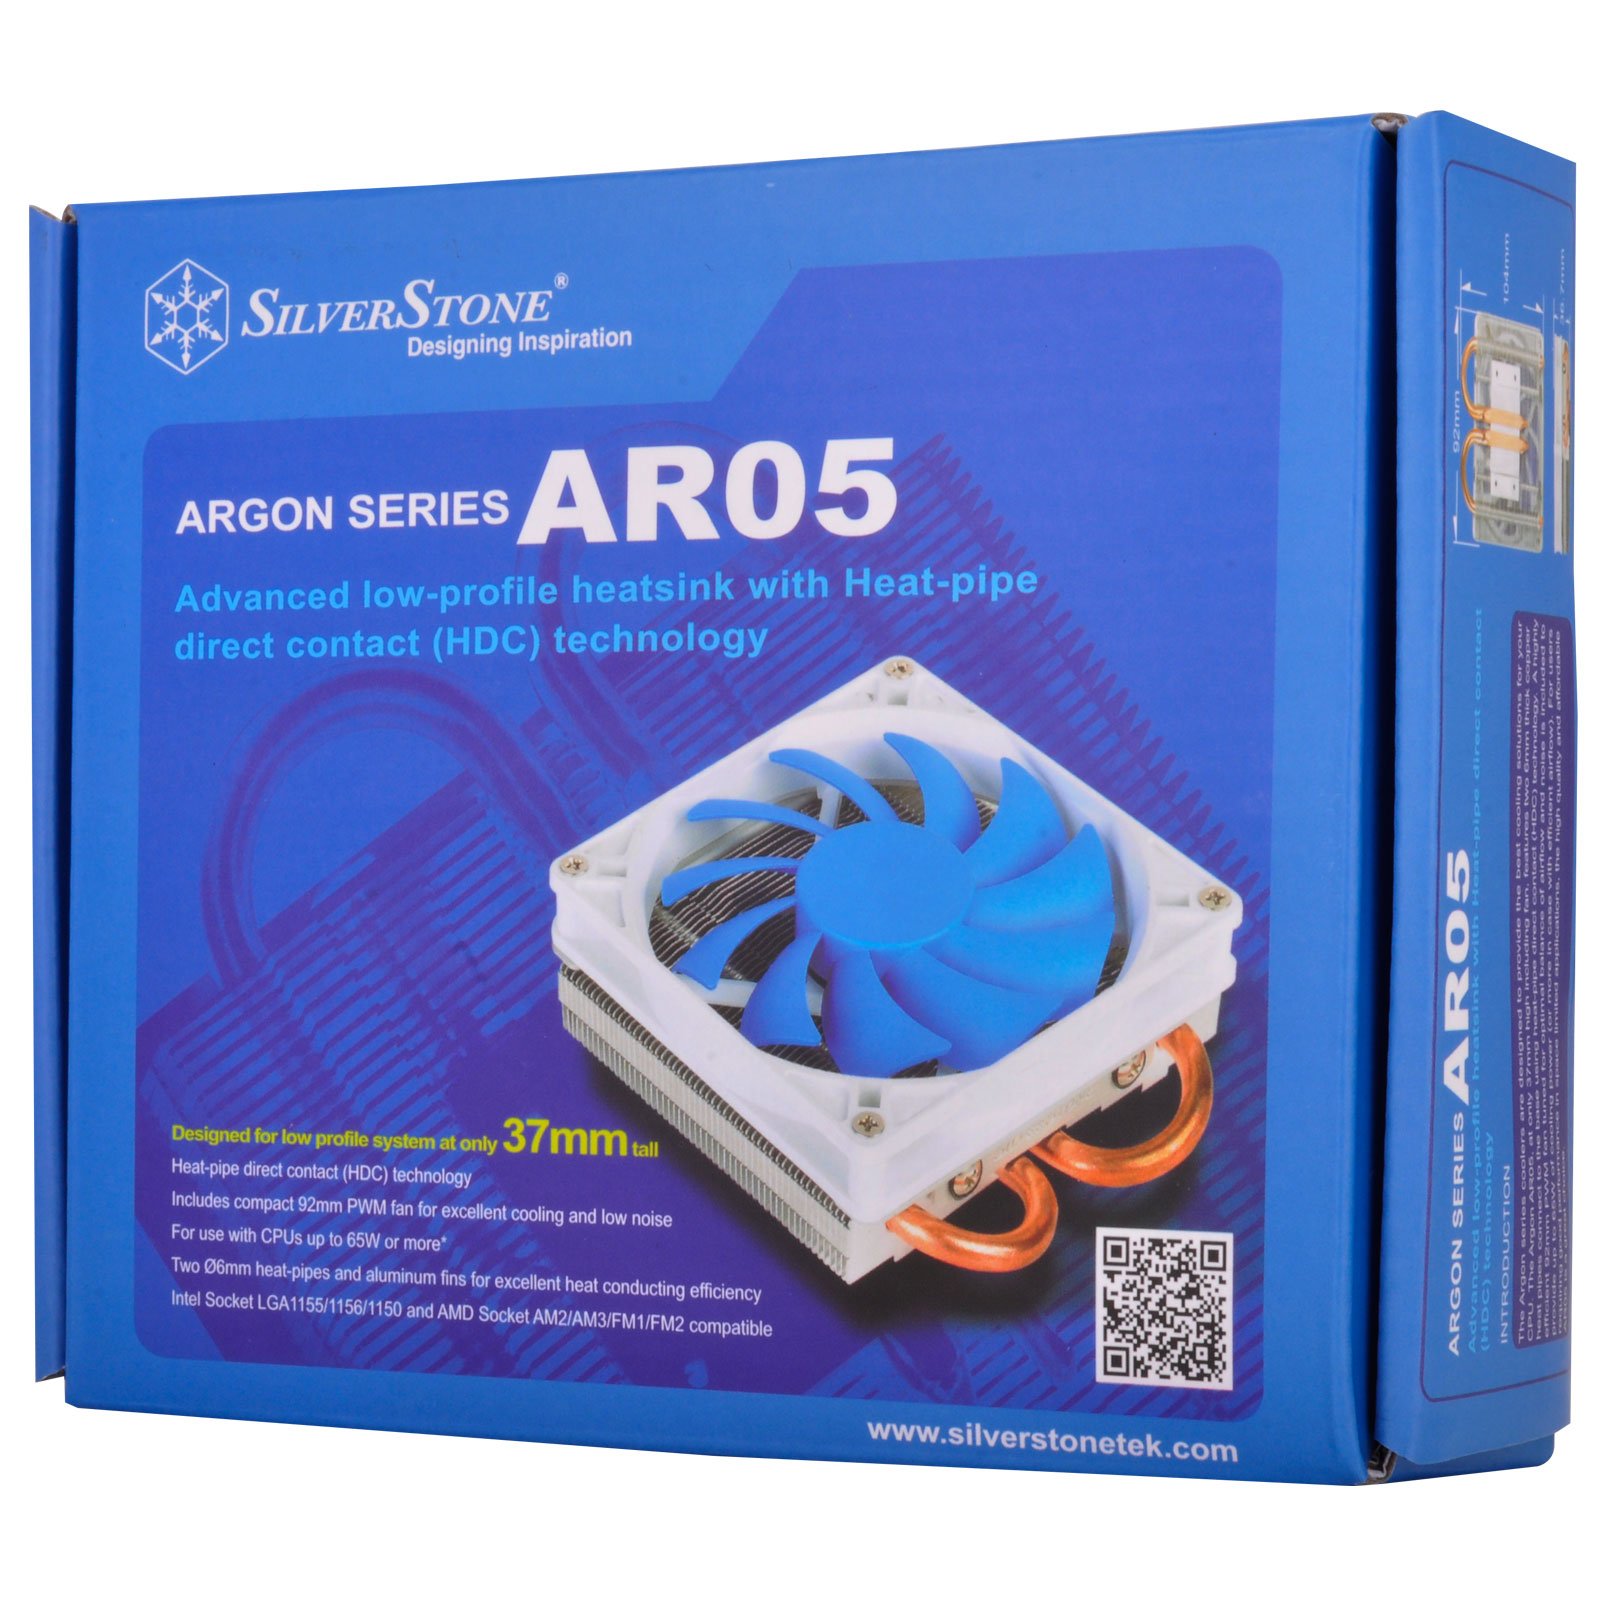


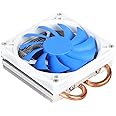
🌟 Cool down your system without the noise!
The SilverStone Tek Low-Profile Heatsink CPU Cooler is engineered for compact systems, standing at just 37mm tall. It features a 92mm PWM fan, two 6mm heat pipes, and is compatible with a range of Intel and AMD sockets, making it an ideal choice for efficient cooling in tight spaces.
| Brand | SilverStone Technology |
| Product Dimensions | 16.51 x 13.97 x 5.08 cm; 272.16 Grams |
| Item model number | SST-AR05 |
| Manufacturer | Silverstone Tek |
| Color | AR05 - 37mm tall |
| Voltage | 12 Volts |
| Wattage | 65 watts |
| Are Batteries Included | No |
| Item Weight | 272 g |
D**K
Much better thermal performance than standard Intel cooler.
As in the description. This small cooler is much better than the standard intel cooler. Heatpipes distribute heat effectively and the fan has enough power to properly cool 6 core intel 8600. All this, in a much smaller package than most of the coolers available on market.Very good purchase!
م**ن
مبرد رائع بصدق
رئع و فاخر و سهل التركيب و المعجون الحراري المرفق معه من نوعية جيدة جدا
N**L
Really silent
Perfect Fan for our small case. Fan is silent and works very well.
G**T
One of the best low profile cooler available
This is one of the best affordable low profile cooler for htpc or small builds. The mounting mechanism is slightly complex which involves retainers nuts and screws, which could have been avoided for a more simpler approach such as a noctua l9i or cryorig C7. The cooler features a 120mm fan at 1200-1600rpm which stays very quiet at loads and the design of the heatsink, which is taller than most low profile coolers out there, and 4 direct copper heat pipes keeps the cpu cool at loads and even during synthetic benchmarking making it one of the best coolers. It beats the old wraith, intel stock and noctua l9i which is much dearer than this. Lastly for its performance the price at the end of the day is still quite high for regular users to opt for it.
C**N
Mucho mejor de lo que esperaba,
Realmente no esperaba mucho de un cooler de bajo perfil, pero me sorprendio ver la capacidad de refigeracion del ar06, bastante eficiente, tengo un i5 4460 en un gabinete tipo slim, por lo que la ventilacion es muy importante, las temperaturas de mi cpu son bastante estables aun con el trabajo que suelo meterle, ademas su instalacion es muy sencilla, me preocupaba que fuera complicada, sin embargo no lo fue, al primer intento lo coloque correctamente, en tamaño esta perfecto para gabinetes slim, no estorba las rams, otra cosa que puede verse muy superficial es su estetica, debo decir que en las fotos no se ve igual que en la vida real, se ve muy elegante y de alta calidad, muy buena opcion este cooler.
P**D
Good CPU Cooler - Fits well in a Mid Tower Chassis and Works Great
This proved to be an excellent CPU cooling option for my PC. Using an older mid-tower chassis with an Intel I7-377k (not overclocked), running a single exhaust fan in the back (92x92mm), 16GB RAM and a video card. The ambient temperature is about 32 °C, being in the tropics. With the stock Intel heat sink and fan, the temperature of the CPU was about 14 °C above ambient, in the range of 44 to 46 °C without any load. Using Skype or any VOIP applications will push the temperatures closer to 60 °C.After replacing the stock Intel cooler with the AR02 in May2014, the CPU temperature when idle is about 8 °C above ambient at 34 to 36 °C. At similar loads as above, the temperature rarely goes about 42 -44 °C, even with a single 92x92mm exhaust.Subsequently, added two intake fans (two Cougar Vortex 120mm) and replaced the rear fan with a Noctua 92mm to improve the air flow. Added a few Silverstone Tek 120mm Ultra fine fan filters to reduce the dust intake as well. I bought one from here, but the rest from ebay. But are even cheaper from the external store website of the ebay seller. Discovered it only after buying from ebay.Installation itself was easy, having upgraded the motherboard and processor about an year ago, the previous experience helped with the task. Had to remove the existing CPU air intake duct from the chassis. As mentioned in the other reviews here and elsewhere, the instructions need a magnifier to read. The video on the manufacturer's website helps a bit. The holes on the rear bracket not always match. Just match one or two holes and go with whatever hole that coordinates well while looking from the front of the motherboard. Keeping the chassis flat on its side is a must for installing this as with any CPU heat sinks. Positioned the heat sink so that the fan is blowing from front to the back and the air flow is vented by the rear fan. Both fans are almost in a straight line to facilitate this. The full assembly took about 30 minutes with all components ready and also using a magnifier to study the little diagrams on the instruction sheet.As mentioned in questions and answers, the heat sink projects 138mm from the motherboard surface. Still leaves about an inch inside my chassis. Did not have any issues with overhang over the RAM as I have two 8 GB modules with the other two slots empty.Did some research on positioning of the heat sink itself, especially of the heat pipes. My installation has the heat pipes in a sideways U configuration with the U lying on its left side. With sintered heat pipes (most of this type of heat sinks have sintered heat pipes), the positioning of the heat pipes, except for upside down, with the ends pointing down, does not matter.Hope this helps.Update on 13-April-2015:The PC is still going strong. Upgraded to a home grown wooden PC case, to improve the air flow, with better cable management and 3 120mm fans for intake and one 120mm fan for exhaust. The CPU temperature is 1 to 2 °C above ambient (tropical climate) without load. With load, spikes to 7 to 8 °C above ambient and comes down to aforementioned temperatures quickly.
ترست بايلوت
منذ أسبوعين
منذ أسبوعين