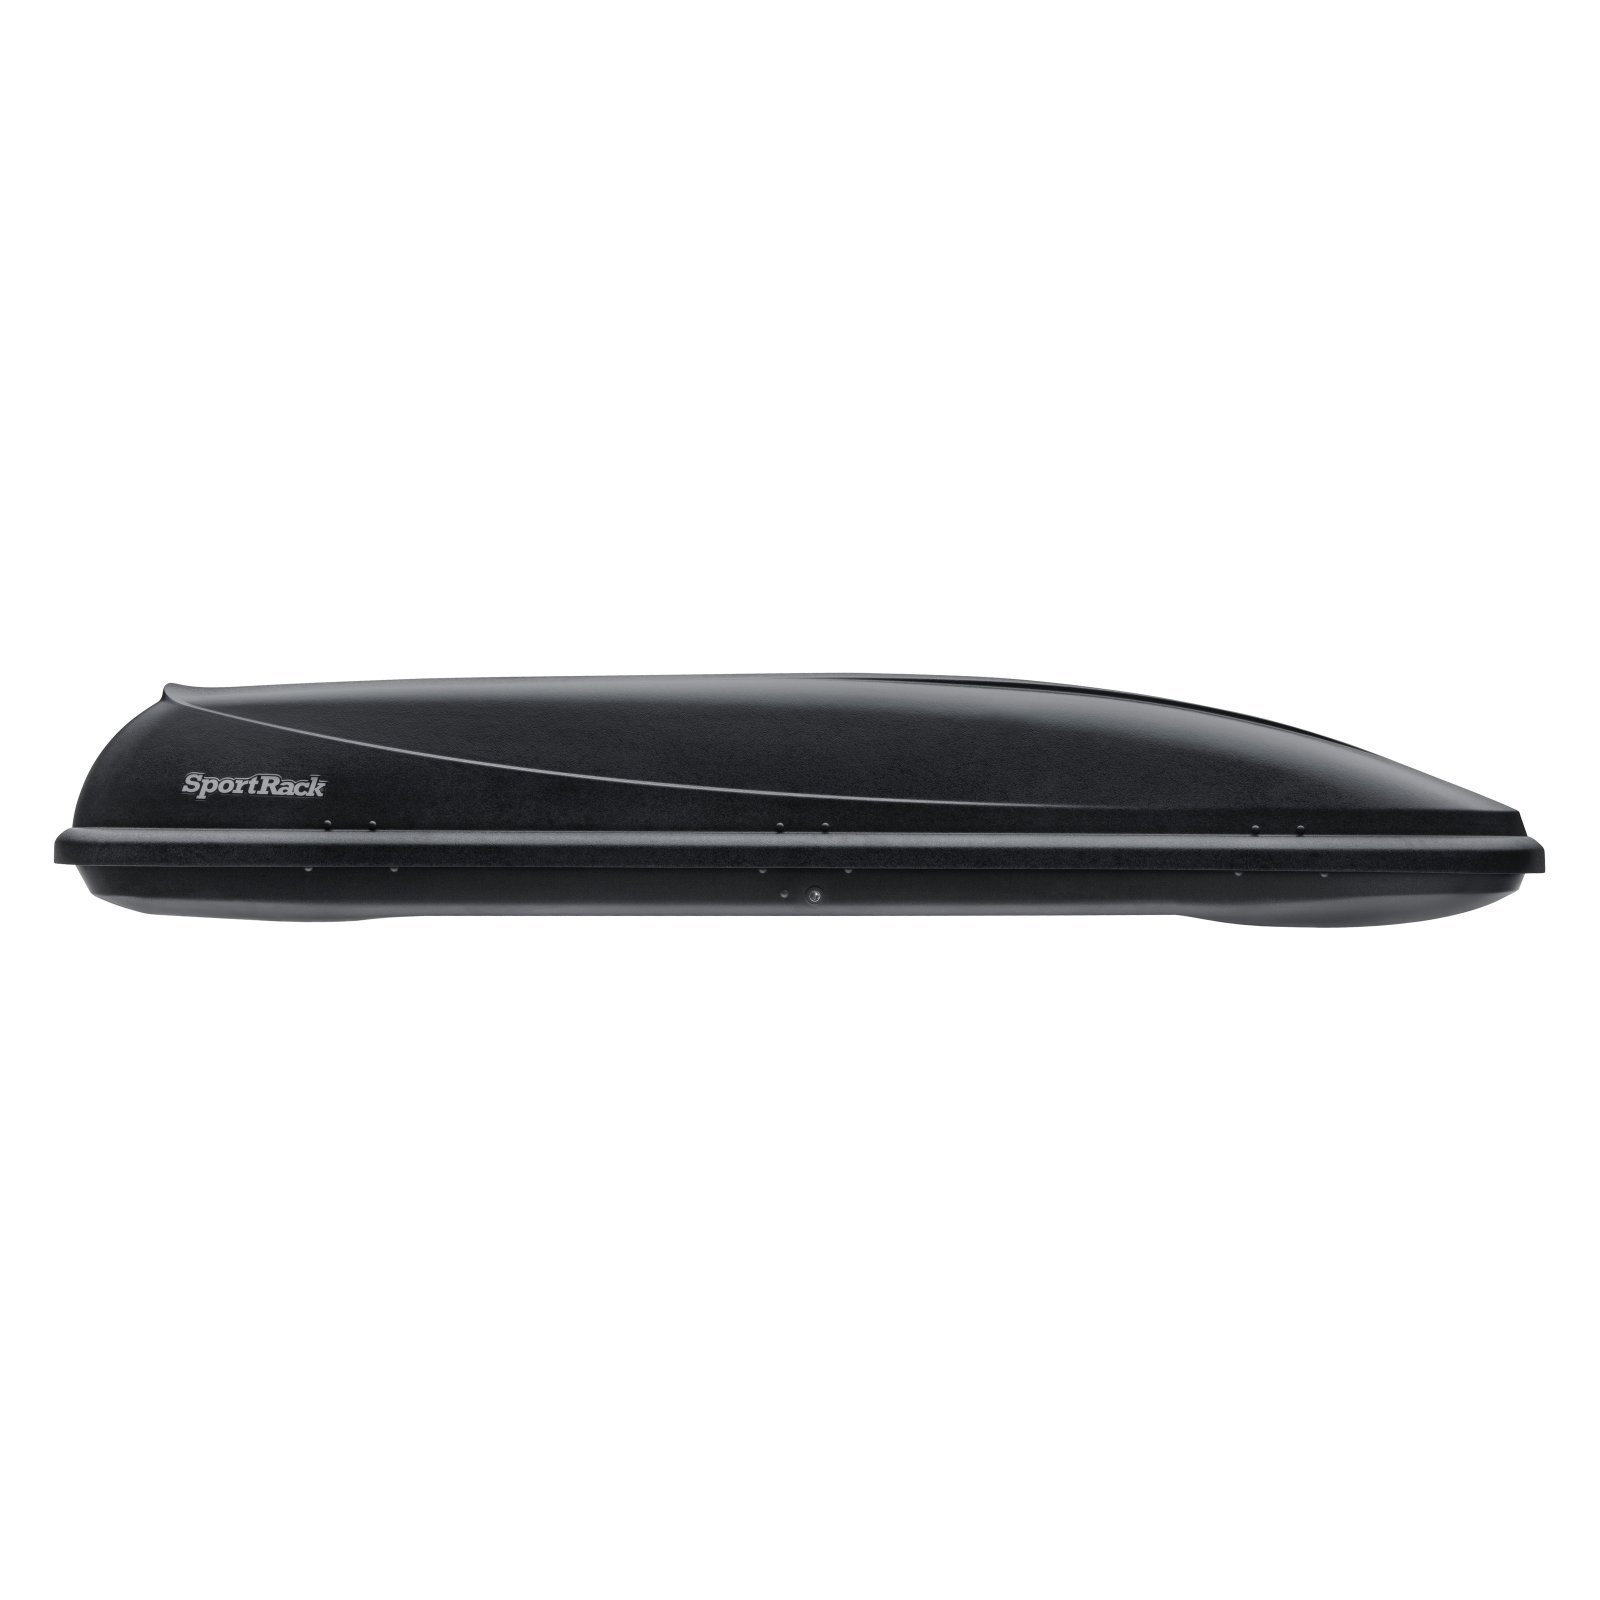


🚗 Elevate your adventure game with the Horizon—where space meets style!
The SportRack Horizon Cargo Box offers 11 cubic feet of rugged, impact-resistant storage designed specifically for skis and snowboards. Featuring a narrow, aerodynamic profile and passenger-side opening, it ensures safe and easy loading. Compatible with a wide range of roof racks and equipped with a quick release mounting system, it supports up to 110 lbs of gear, making it the perfect companion for your alpine escapes.


| Water Resistance Level | Not Water Resistant |
| Mounting Type | Roof Mount |
| Item Volume | 11 Cubic Feet |
| Shell Type | Hard |
| UPC | 770527990015 |
| Manufacturer | Thule, Inc. |
| Global Trade Identification Number | 00770527990015 |
| OEM Part Number | SR7011 |
| Item Package Dimensions L x W x H | 89.37 x 20.87 x 15.35 inches |
| Package Weight | 14 Kilograms |
| Item Dimensions LxWxH | 88.4 x 20.7 x 15.9 inches |
| Brand Name | SportRack |
| Country of Origin | United States |
| Warranty Description | manufacturer defects |
| Model Name | Horizon |
| Suggested Users | unisex-adult |
| Number of Items | 1 |
| Part Number | SR7011 |
| Style | Alpine - 11 Cu Ft |
| Included Components | cargo box and mounting hardware |
| Size | Alpine (11 Cubic Feet) |
X**1
EXCELLENT BUY!!!
This is the first roof cargo box I buy and also the first time I use one for a trip. MAN! AM I GLAD I BOUGHT IT AND HAPPY WITH IT!!! When I we decided to go on a 18 day family camping and road trip, I knew that the space inside my Acadia wouldn't be enough for a family of 5. 2 adults and 3 kids 13, 9 and 2yrs old.When I started my search I researched the typical popular brands like Thule and Yakima, I almost had a heart attack when I saw the prices... it is ridiculous to think that someone would pay 400 to 800 bucks for a brand new "popular brand name" box and if you buy online, you can tack on another 100 to 150 freight shipping costs... Scratch that for now. Started searching classified sites, news papers and garage sales, but of course, people are expecting to get almost as much as what they paid for them also.Then I decided to check out Amazon and when I did my search, for some reason this box did not appear, mainly the popular expensive boxes were listed... After about a week, I got one of the "you might like" type of emails from amazon and this box along with its other 3 sizes were listed, I was shocked to see such low prices. At first I thought maybe these cargo boxes may not be that good, but I started doing some research online and I couldn't find anything that indicated bad quality or dissatisfied customers. So after thinking about it for about 1 week, I decided to purchase it. I am a prime member so the shipping was FREE!!! In total I only paid $195.46. You just can't beat that price for a brand new box and free shipping!The delivery, while free, was excellent. Fast and great service, the freight company called me 3 days before the delivery to schedule a good time and day (within a certain window) to delivery it. They were very cordial and professional, you could tell they were very willing to provide a good service and work with me. The item arrived in less than a week, well packaged. Inside comes the instruction manuals, 2 fasteners, a set of seal stickers and 4 easy lock clamps.As I mentioned above, I had never had one of these, nor had I ever installed one. The installation is SOOOOO EASY!!! my wife helped me put the box on top of our car and I was able to do the rest of the installation all by my self. The easy lock clamps are TRULY EASY and very secure, you don't need to screw anything. You run the "U" shaped screws through your cargo bars and into the box, insert them in the easy clamps, put some pressure down, twist the clamp and done. Installation was complete in less than 10 minutes.The space it provides is excellent, we managed to fit in there all of our camping gear and a little more. One 6 person tent, one 2 person tent, 5 sleeping bags and a couple of them are pretty large, 5 sleeping pads, baby back carrier, 3 camel backs, 2 camp folding tables, 4 folding chairs, 2-burner camping stove, 1 small can of propane and an extra bag of toiletries. It was PACKED! and as long as you organize it well, it fits fine. The locking mechanism works very well also. It ensures that the box is closed correctly in 3 places or it won't allow you to lock it. This makes sure you have a tight seal and is safe to lock.We drove from 3700-plus miles in 2 weeks, going from CO to UT, NV, North CA, South CA, NV, AZ, CO. We encountered everything, intense heat of the desserts, VERY high headwinds, rain and hail. The box did outstanding! Not one crack, nothing wrong with it. I read reviews of other boxes being very noisy, but this box is quiet. In fact when I installed the roof cross bars alone, I could hear a little wind noise, but after I installed this box the noise was gone. We never heard any wind noise at any speed and the wind resistance was minimal, our MPG was very good through the trip.So, all in all... This is a VERY sturdy/strong box, easy to install, little air resistance, excellent cargo space and secure. I highly recommend purchasing this box or any of its other sizes.
N**Y
How to make installation easier
Here is how to make donning and doffing easier. Listen-up SportRack folks!Purchase: Six M6-1.0 nuts to fit the bolts provided in the kit. Four small velcro 'dots'. Two-sided tape (several inches).1. Lift box onto vehicle2. Open hatch and find desired forward/rearward mounting position.3. Mark on the bottom of the box the forward holes needed to straddle the crossbars at each mounting point. I used masking tape. Tip: Square the box to the rear crossbar. Then mark the forward crossbar. This procedure ensures the box is aligned to the vehicle, instead of the vehicle's side rail. 4. For each of the four mounting points, slip one of the large plates into position and stick a bolt through the nearest forward hole. Verify the rear holes of the plate clear the crossbars. 5. Skip this step if the holes fit your crossbars. If not, tape the provided large plates in place where you need them. These will be your drilling templates in step 7. Note: For strength purposes, the new holes should not be too close to any other holes. Adjust as necessary to maximize material between holes. Recommend drilling any new holes for the rear crossbar.6. Lift the box down. Sawhorses help for the following work. Be careful not to disturb your markings and such.7. If necessary, drill new holes using the large plates you taped in place in step 5 as templates. Otherwise, skip this step.8. Assemble the following onto a bolt (do 4 times, once for each of the mounting points): u-shaped bar with the U hugging the bolt head, nut (run almost all the way down), large plate, box (insert bolt from bottom thru the forward hole you marked), small plate, and knob (just a few turns).9. Assemble the following onto a bolt for each of the passenger's-side (opening-side) mounting points: insert bolt thru large plate from the bottom of the box, thru the box, small plate, and knob (just a few turns). Tip: Apply two-sided tape between the box and each of the large and small plates. This will help you manage the loose stuff when donning/doffing the box.10. Assemble the following for the driver's-side (hinge-side) mounting points: insert bolt from inside the box thru the small plate, box, and large plate. Apply a nut and tighten securely. No need for tape.11. For each u-shaped bar, apply velcro to secure the bar to the bottom of the box 90 degrees from the large plate's orientation. This will help you manage the bars when donning/doffing the box.12. Lift box onto vehicle. Be careful to not scratch your roof and crossbars with the protruding hardware. Luckily, the empty box is light and shouldn't be a problem for two people. Square the box to the crossbars.13. For each passenger's-side (opening side) mount: unvelcro the u-shaped bar, swing it, and slip the bolt head thru the keyhole. Ensure the bolts are straight. Snug (not tight) the knobs. The u-shaped bar should be roughly level to the box.14. For each driver's-side (hinge-side) mount: unvelcro the u-shaped bar, swing it, and insert the bolt thru the slot. Apply a knob to the bolt. Tighten this knob and the internal knob until snug (not tight) while keeping the u-shaped bar roughly level to the box. Yes, snugging these internal knobs will be a pain, requiring someone to nearly climb into the box while it is on the vehicle. But, if you mount per these instructions, you should only have to do this awkward maneuver one time. See tips, below.15. At this point, your box is mounted. Fine- tune the position, and then tighten all eight knobs. Finally, tighten the remaining purchased nuts to the large plates.16. Finishing touch: I found that the large hinge arms (inside the box that hold up the lid) like to clunk against the box during acceleration and braking. You can hear them. I put furniture for pads on the elbows and the clunking is now barely perceptible.17. Finishing touch: I worried that water would get into the lock and freeze. I used a business card sized self adhesive magnetic pad to cover go around it (obviously with a hole cut out), and then another pad as the cover. Simply peel off the top pad to access the lock, and stick it back to protect. Stays on at 80mph.18. Doffing tip: Don't loosen the inside knobs on the driver's-side (hinge-side). Taking off the outside knob will provide enough slack to pivot the u-shaped bars, and you'll never need to climb into the box again.Now, whenever you doff and don the box, the process is easy:1. Lift box onto vehicle.2. Unvelcro and swing u-bars.3. Passenger-side: Slip bolt thru key hole and tighten.4. Driver-side: Pass bolt thru slot, start knob, and tighten.5. Done.
ترست بايلوت
منذ 3 أسابيع
منذ أسبوعين